Author: dannoman

  • Busy Junque-making

    Busy Junque-making

    I love to experiment in my 3D prints. I design and make Junque just to push my design imagination and CAD skills as far as I can. Sometimes I have the printers doing new tricks as well.

    I can also “break” FUSION and OnShape (CAD software) performance with very large Boolean calculations. Most of the time it is just a matter of waiting for the calculations to finish.

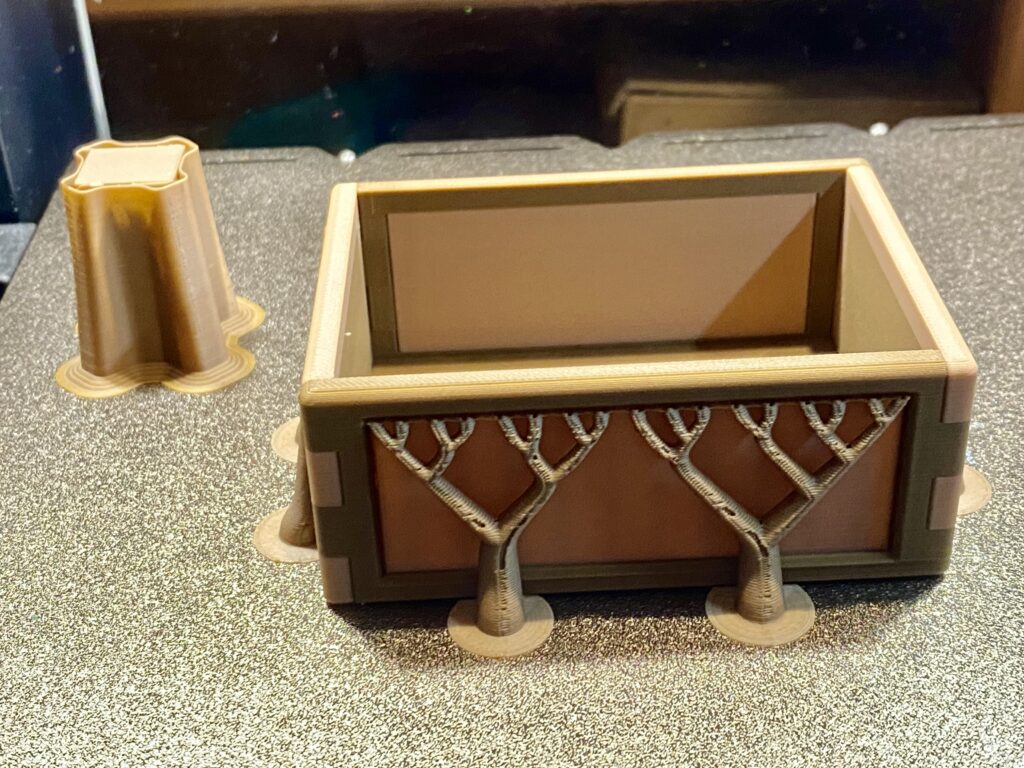
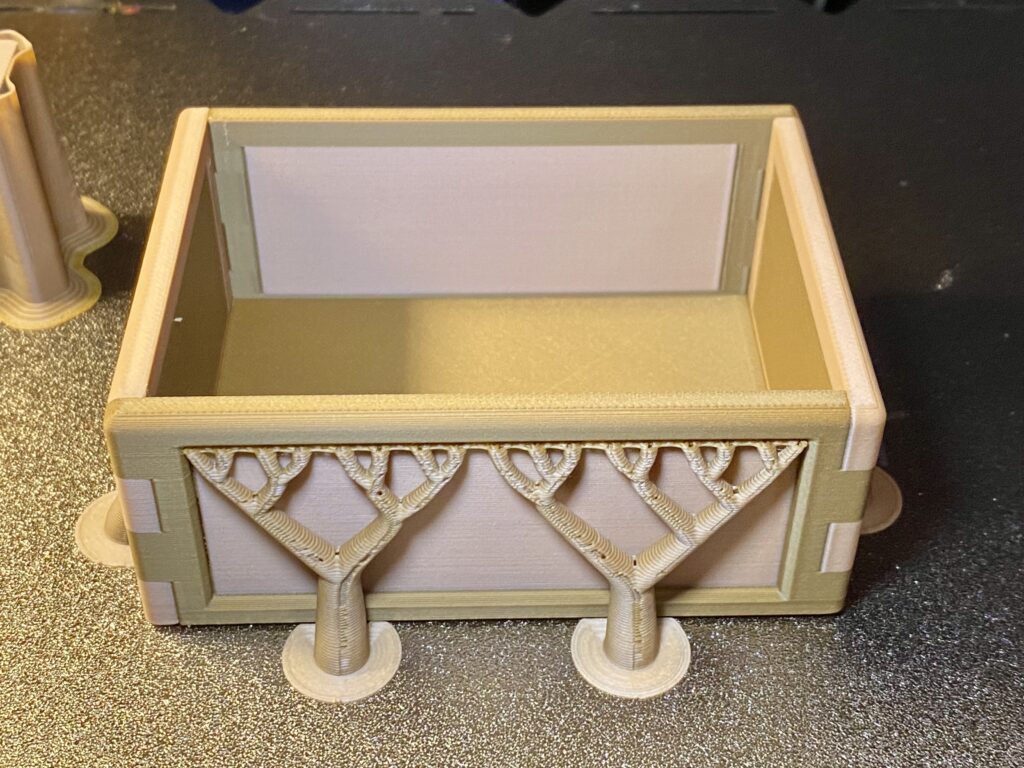
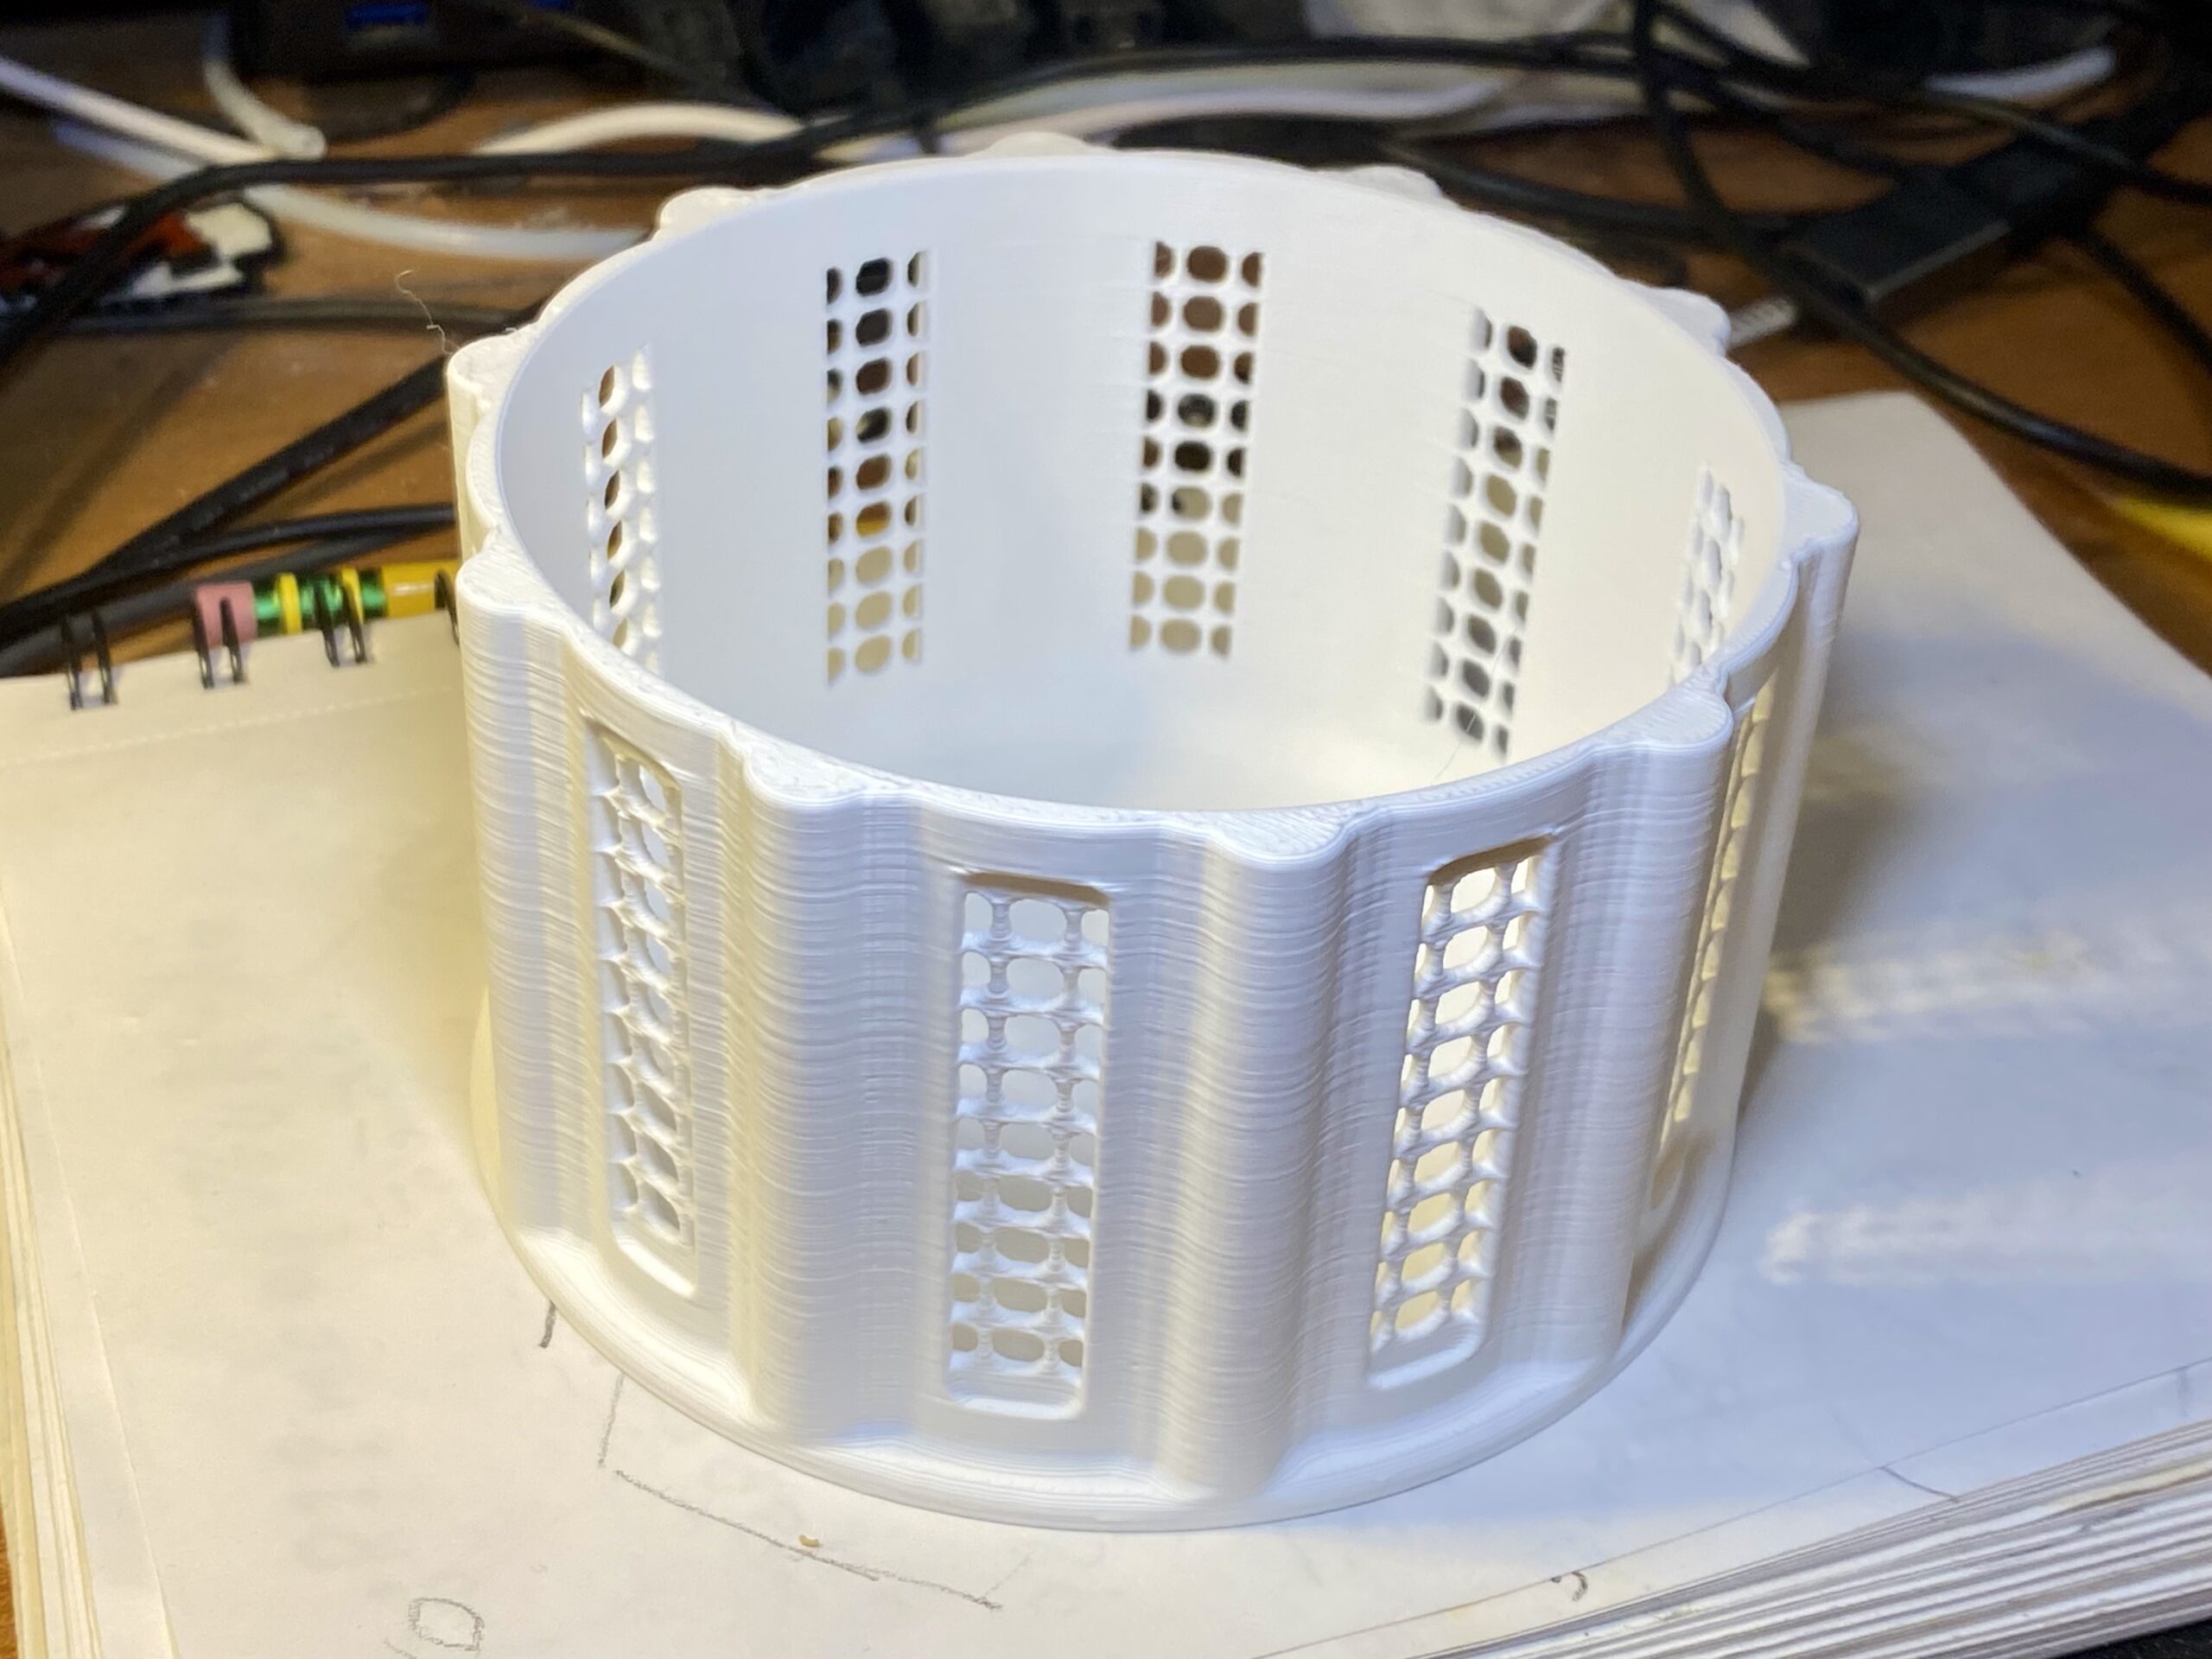
    The Lead item created very intensive (long) calculations. I like how the side openings look like screening.

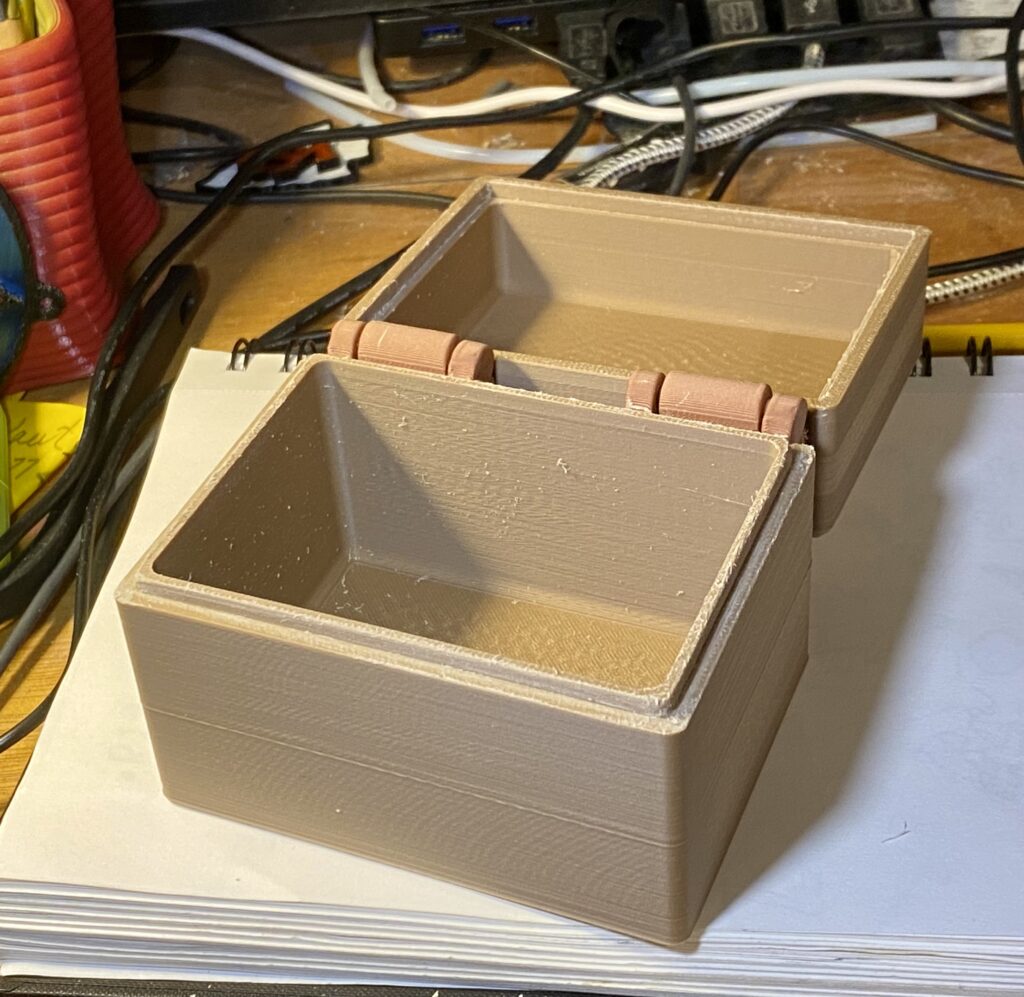
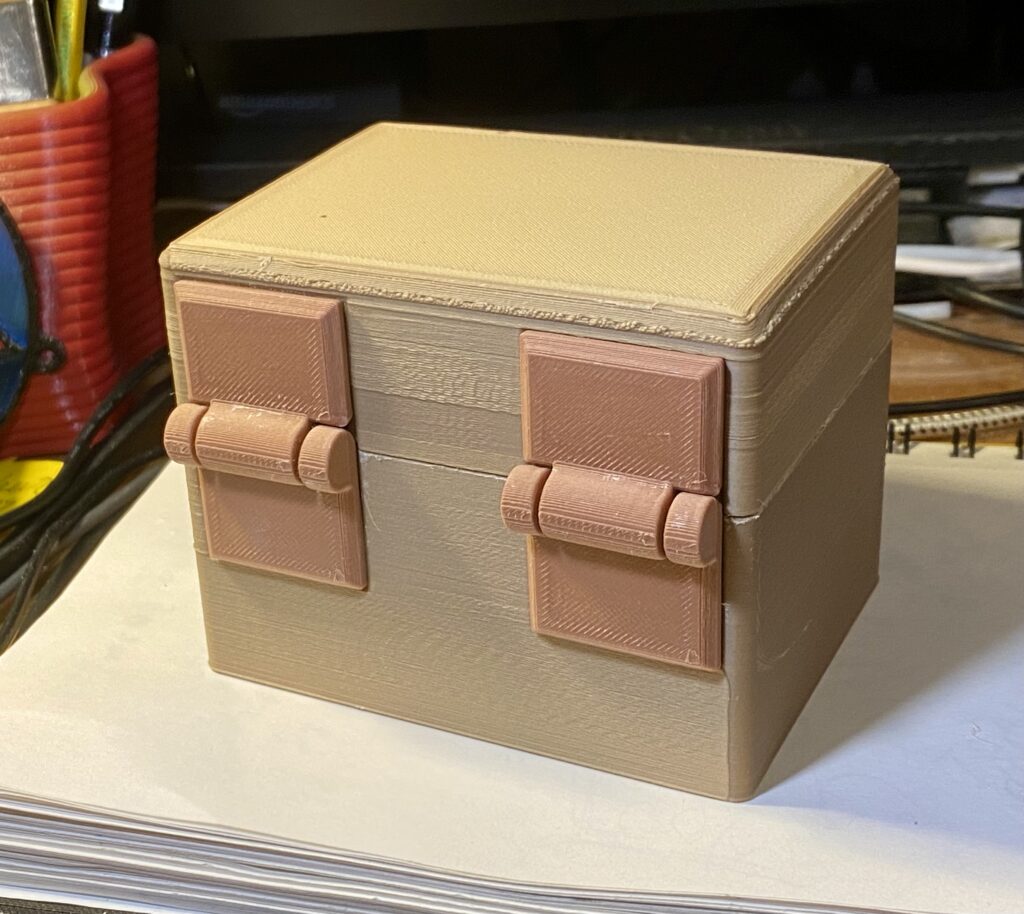
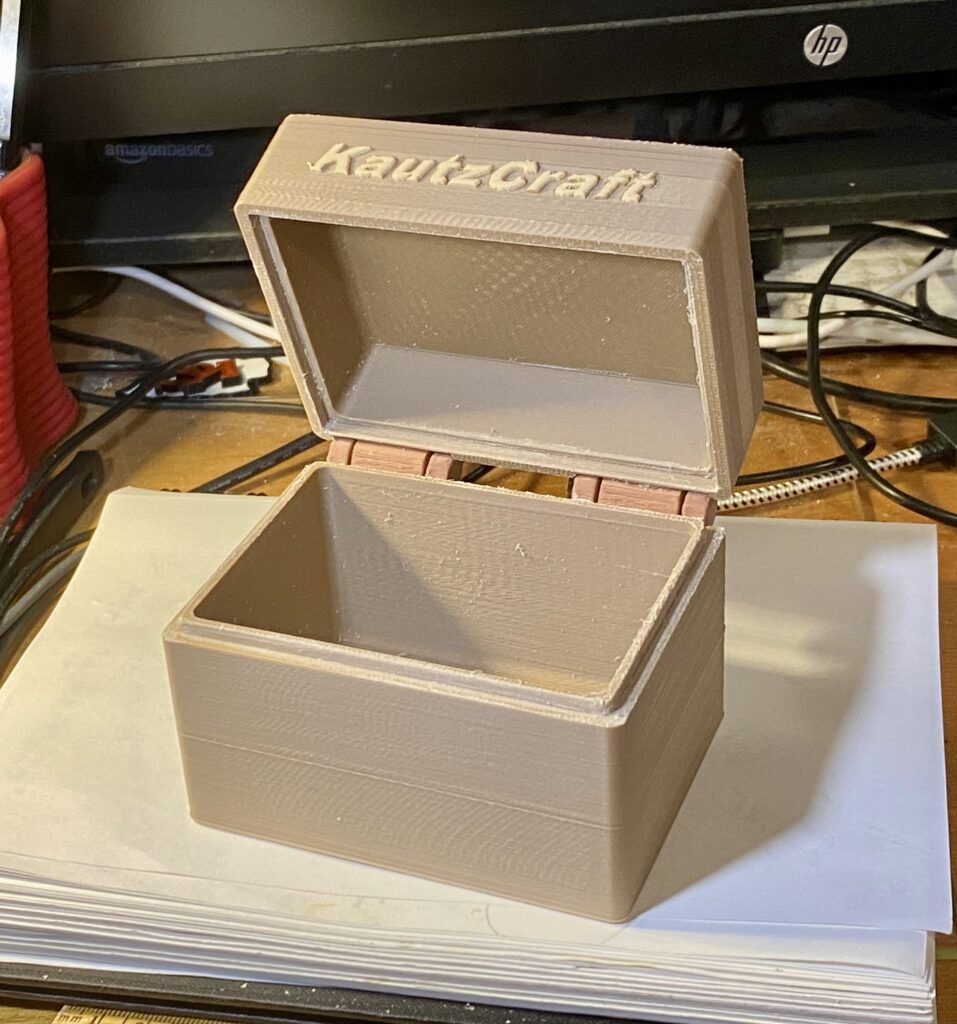
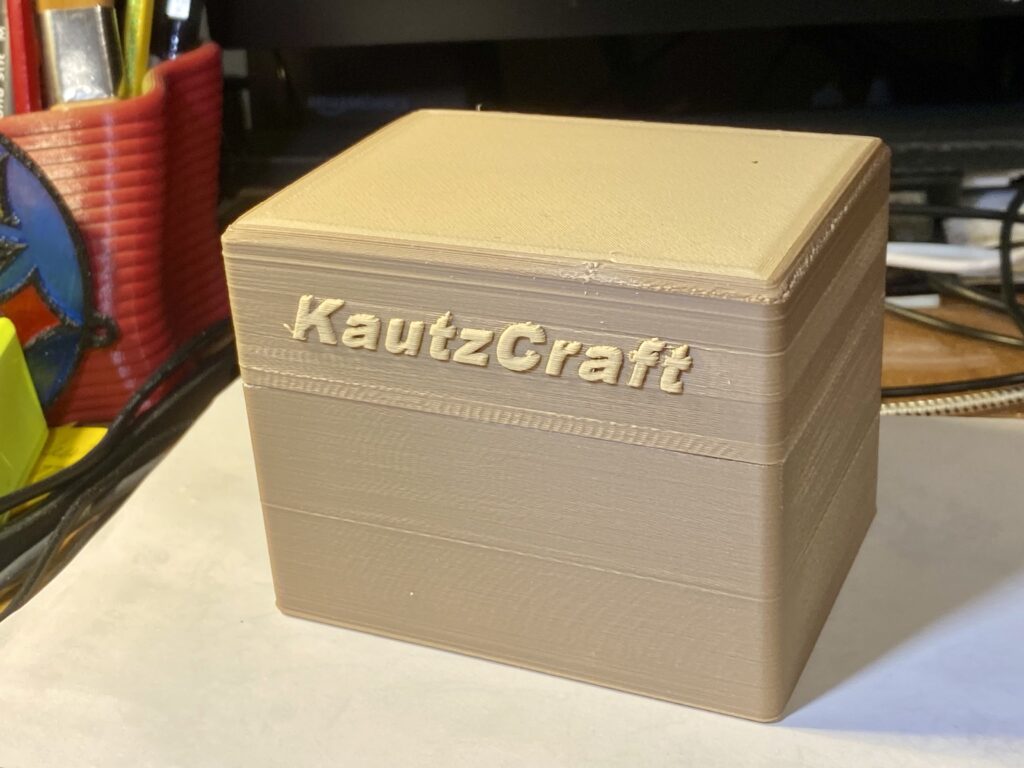
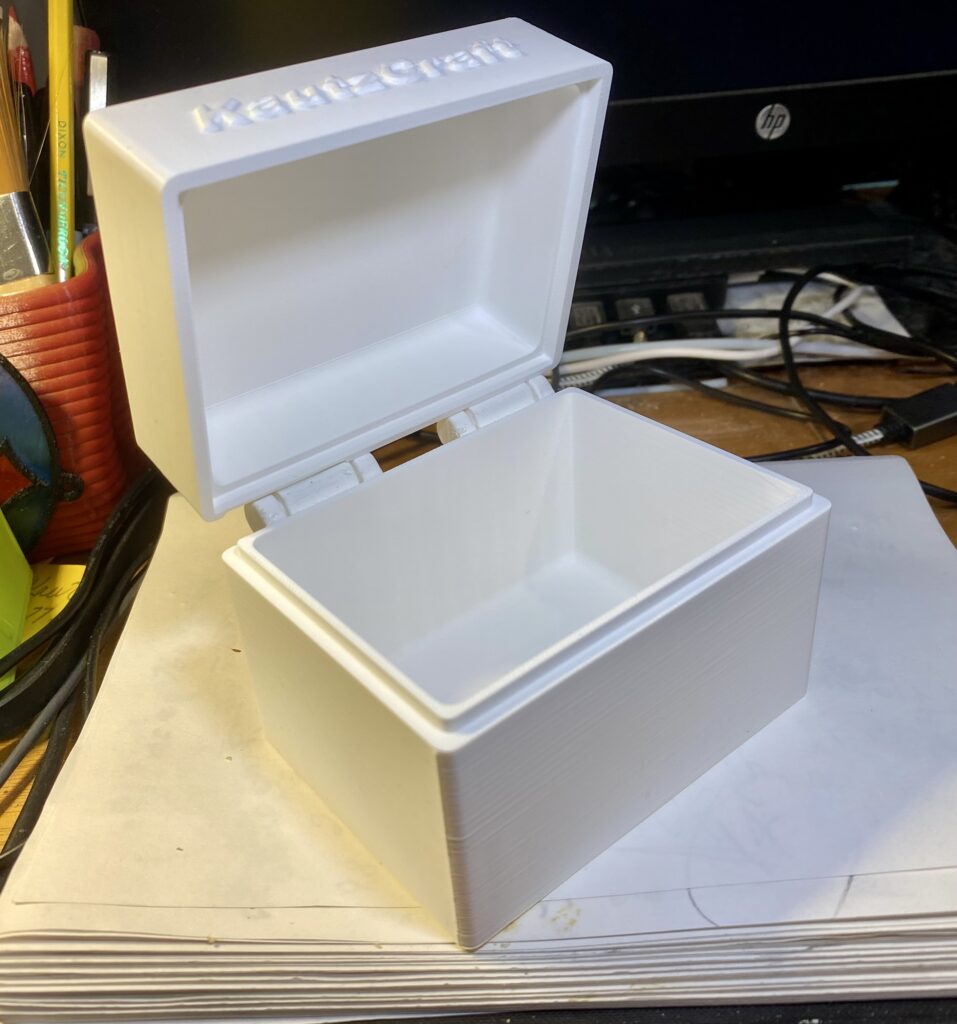
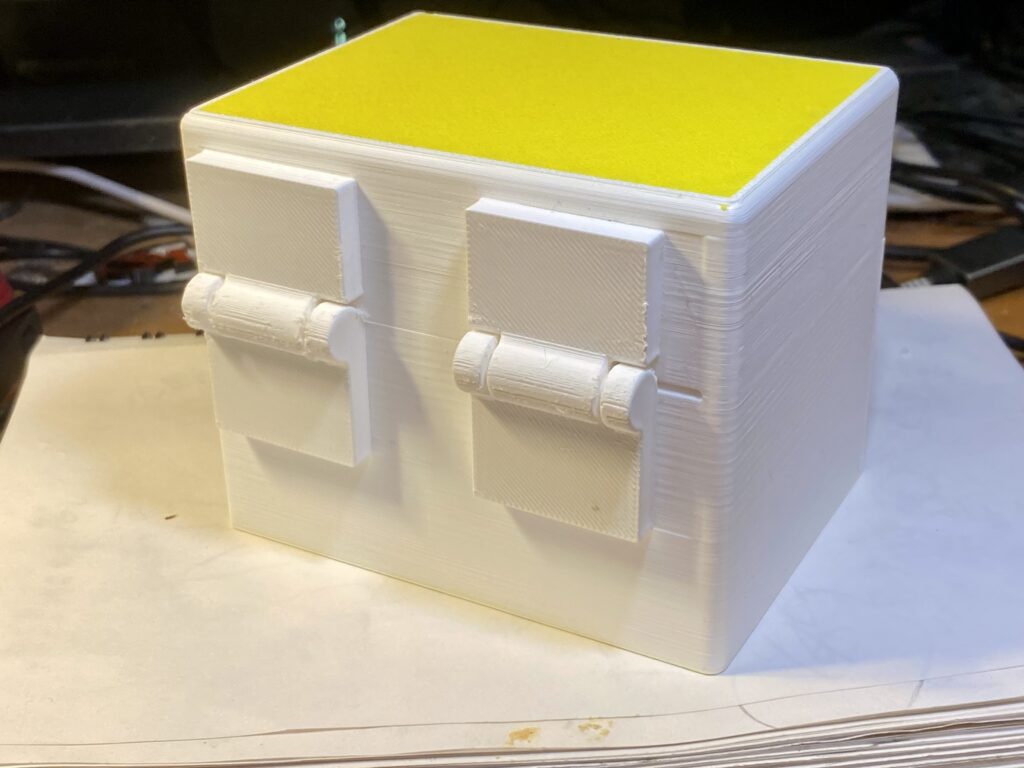
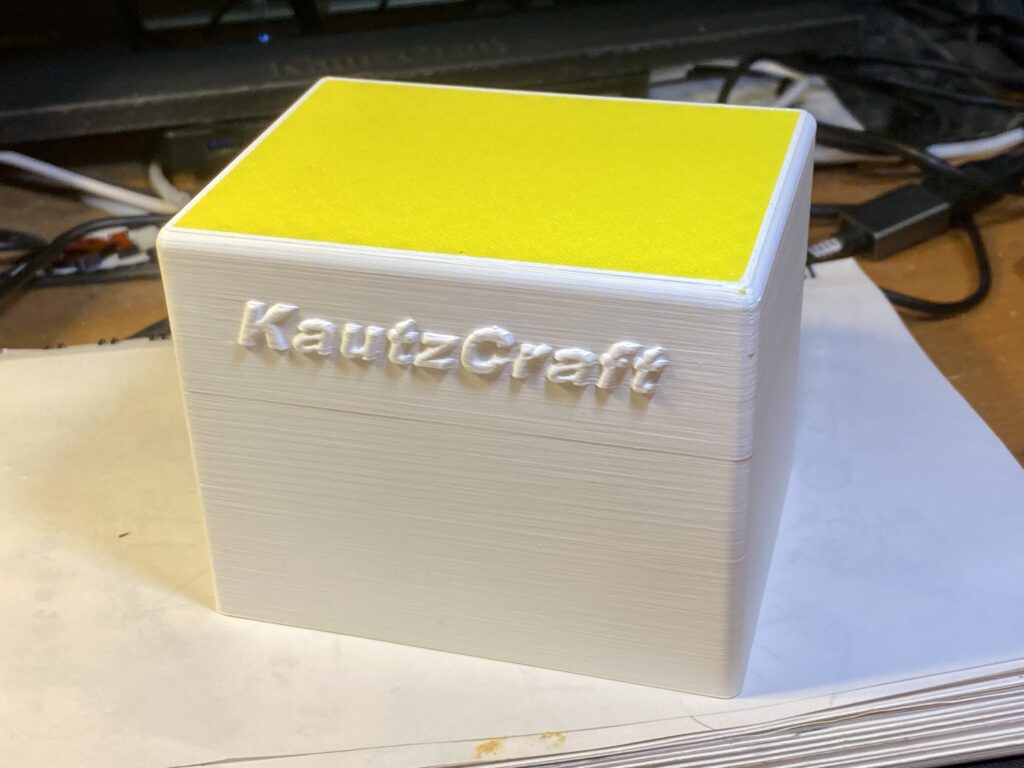
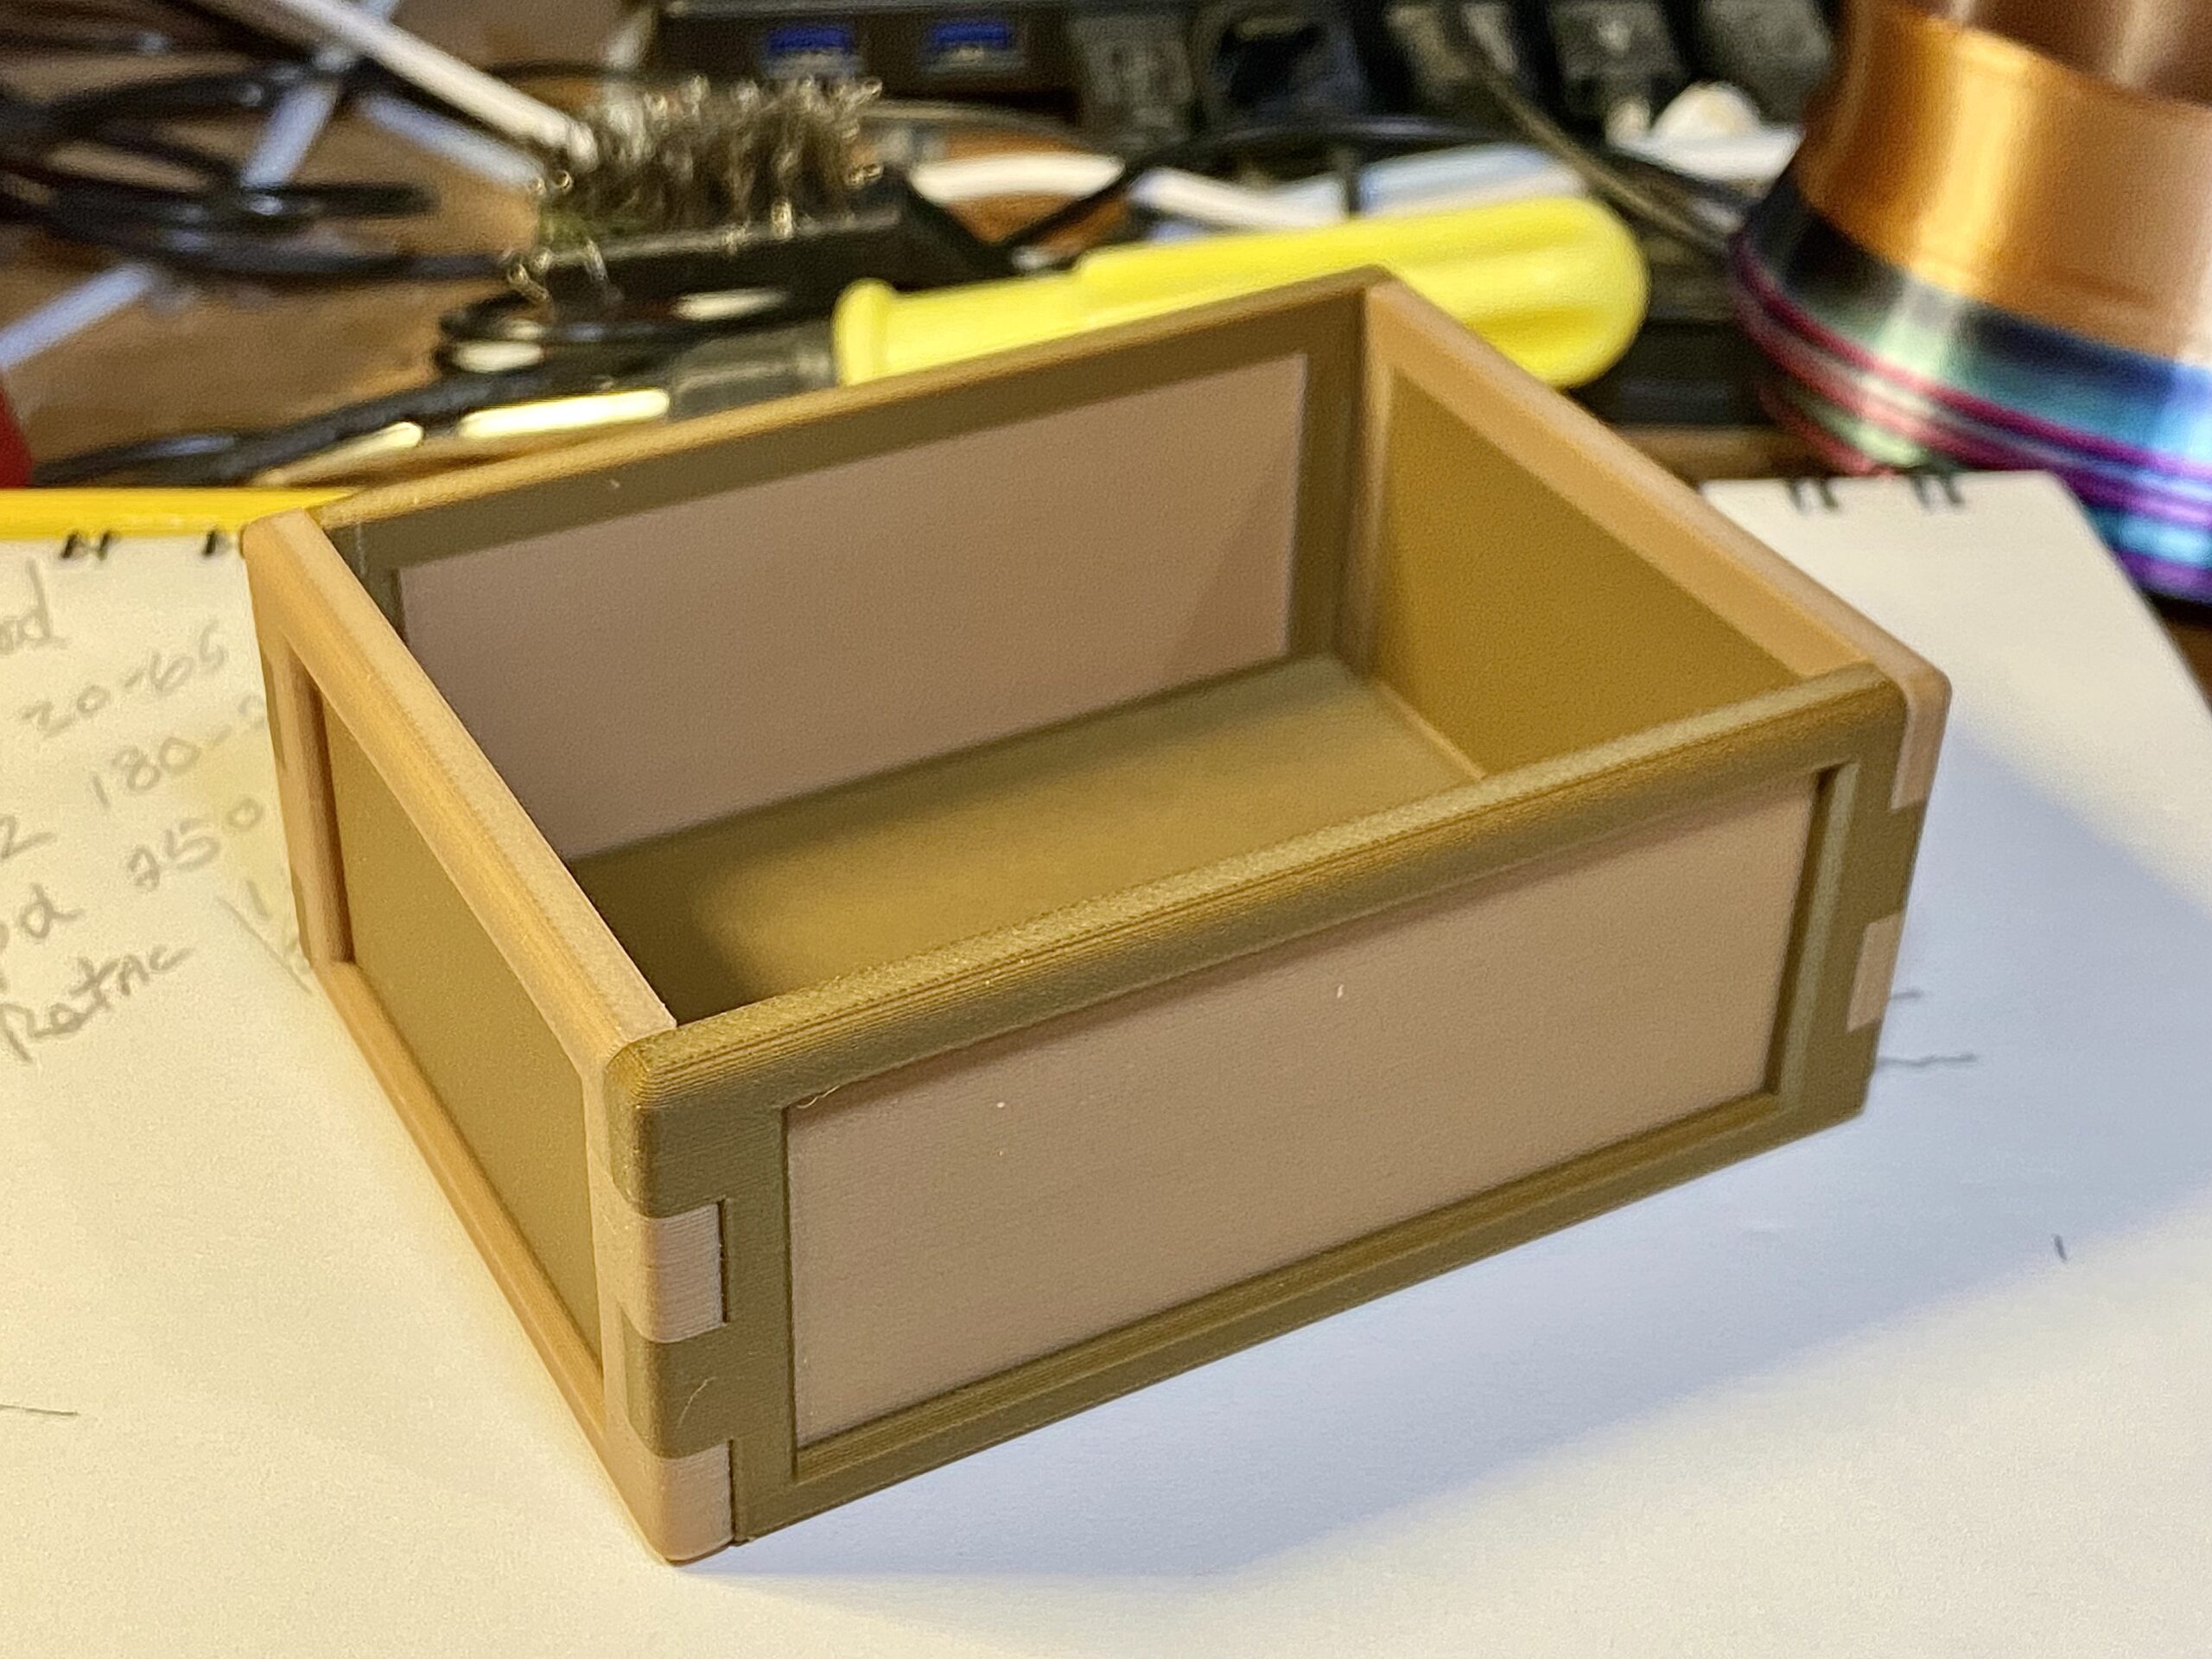
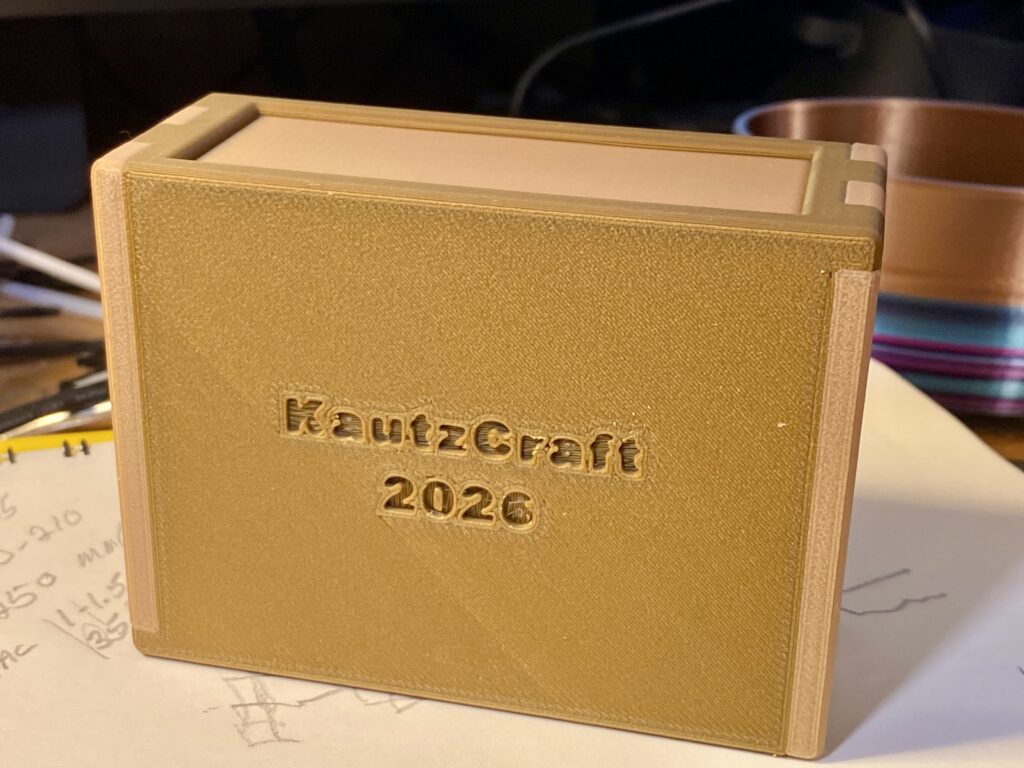
    The prints below have some new ideas, like the hinges on the small boxes.

    Lot’s more to come!…

  • Bold Bowls

    Bold Bowls

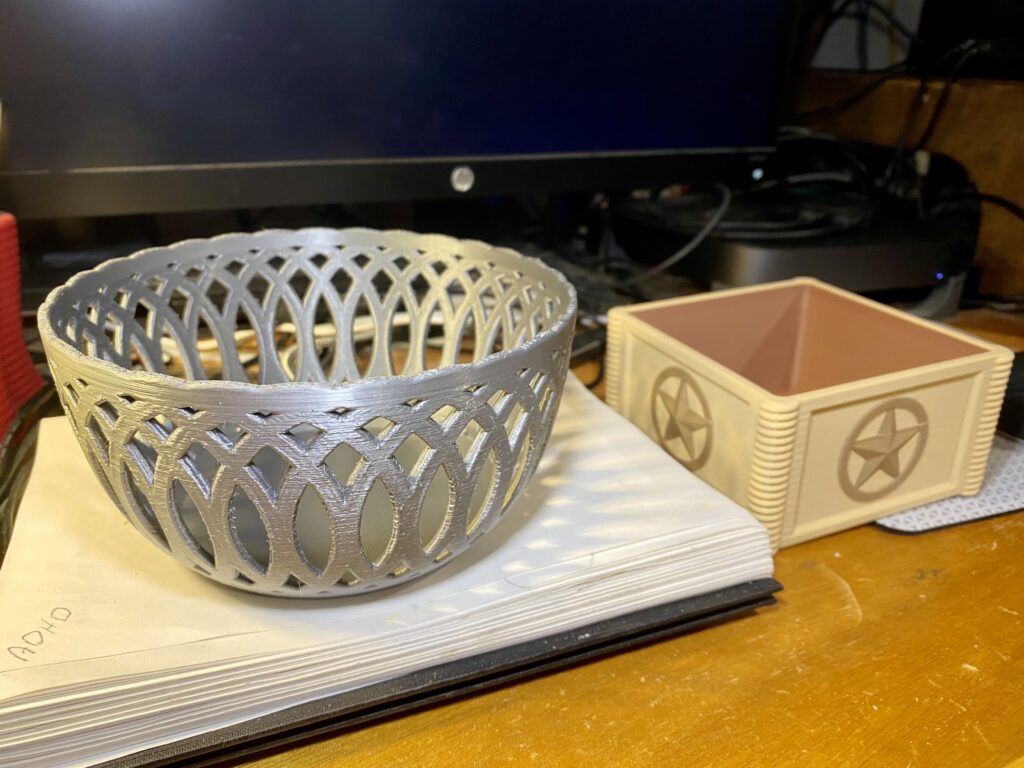
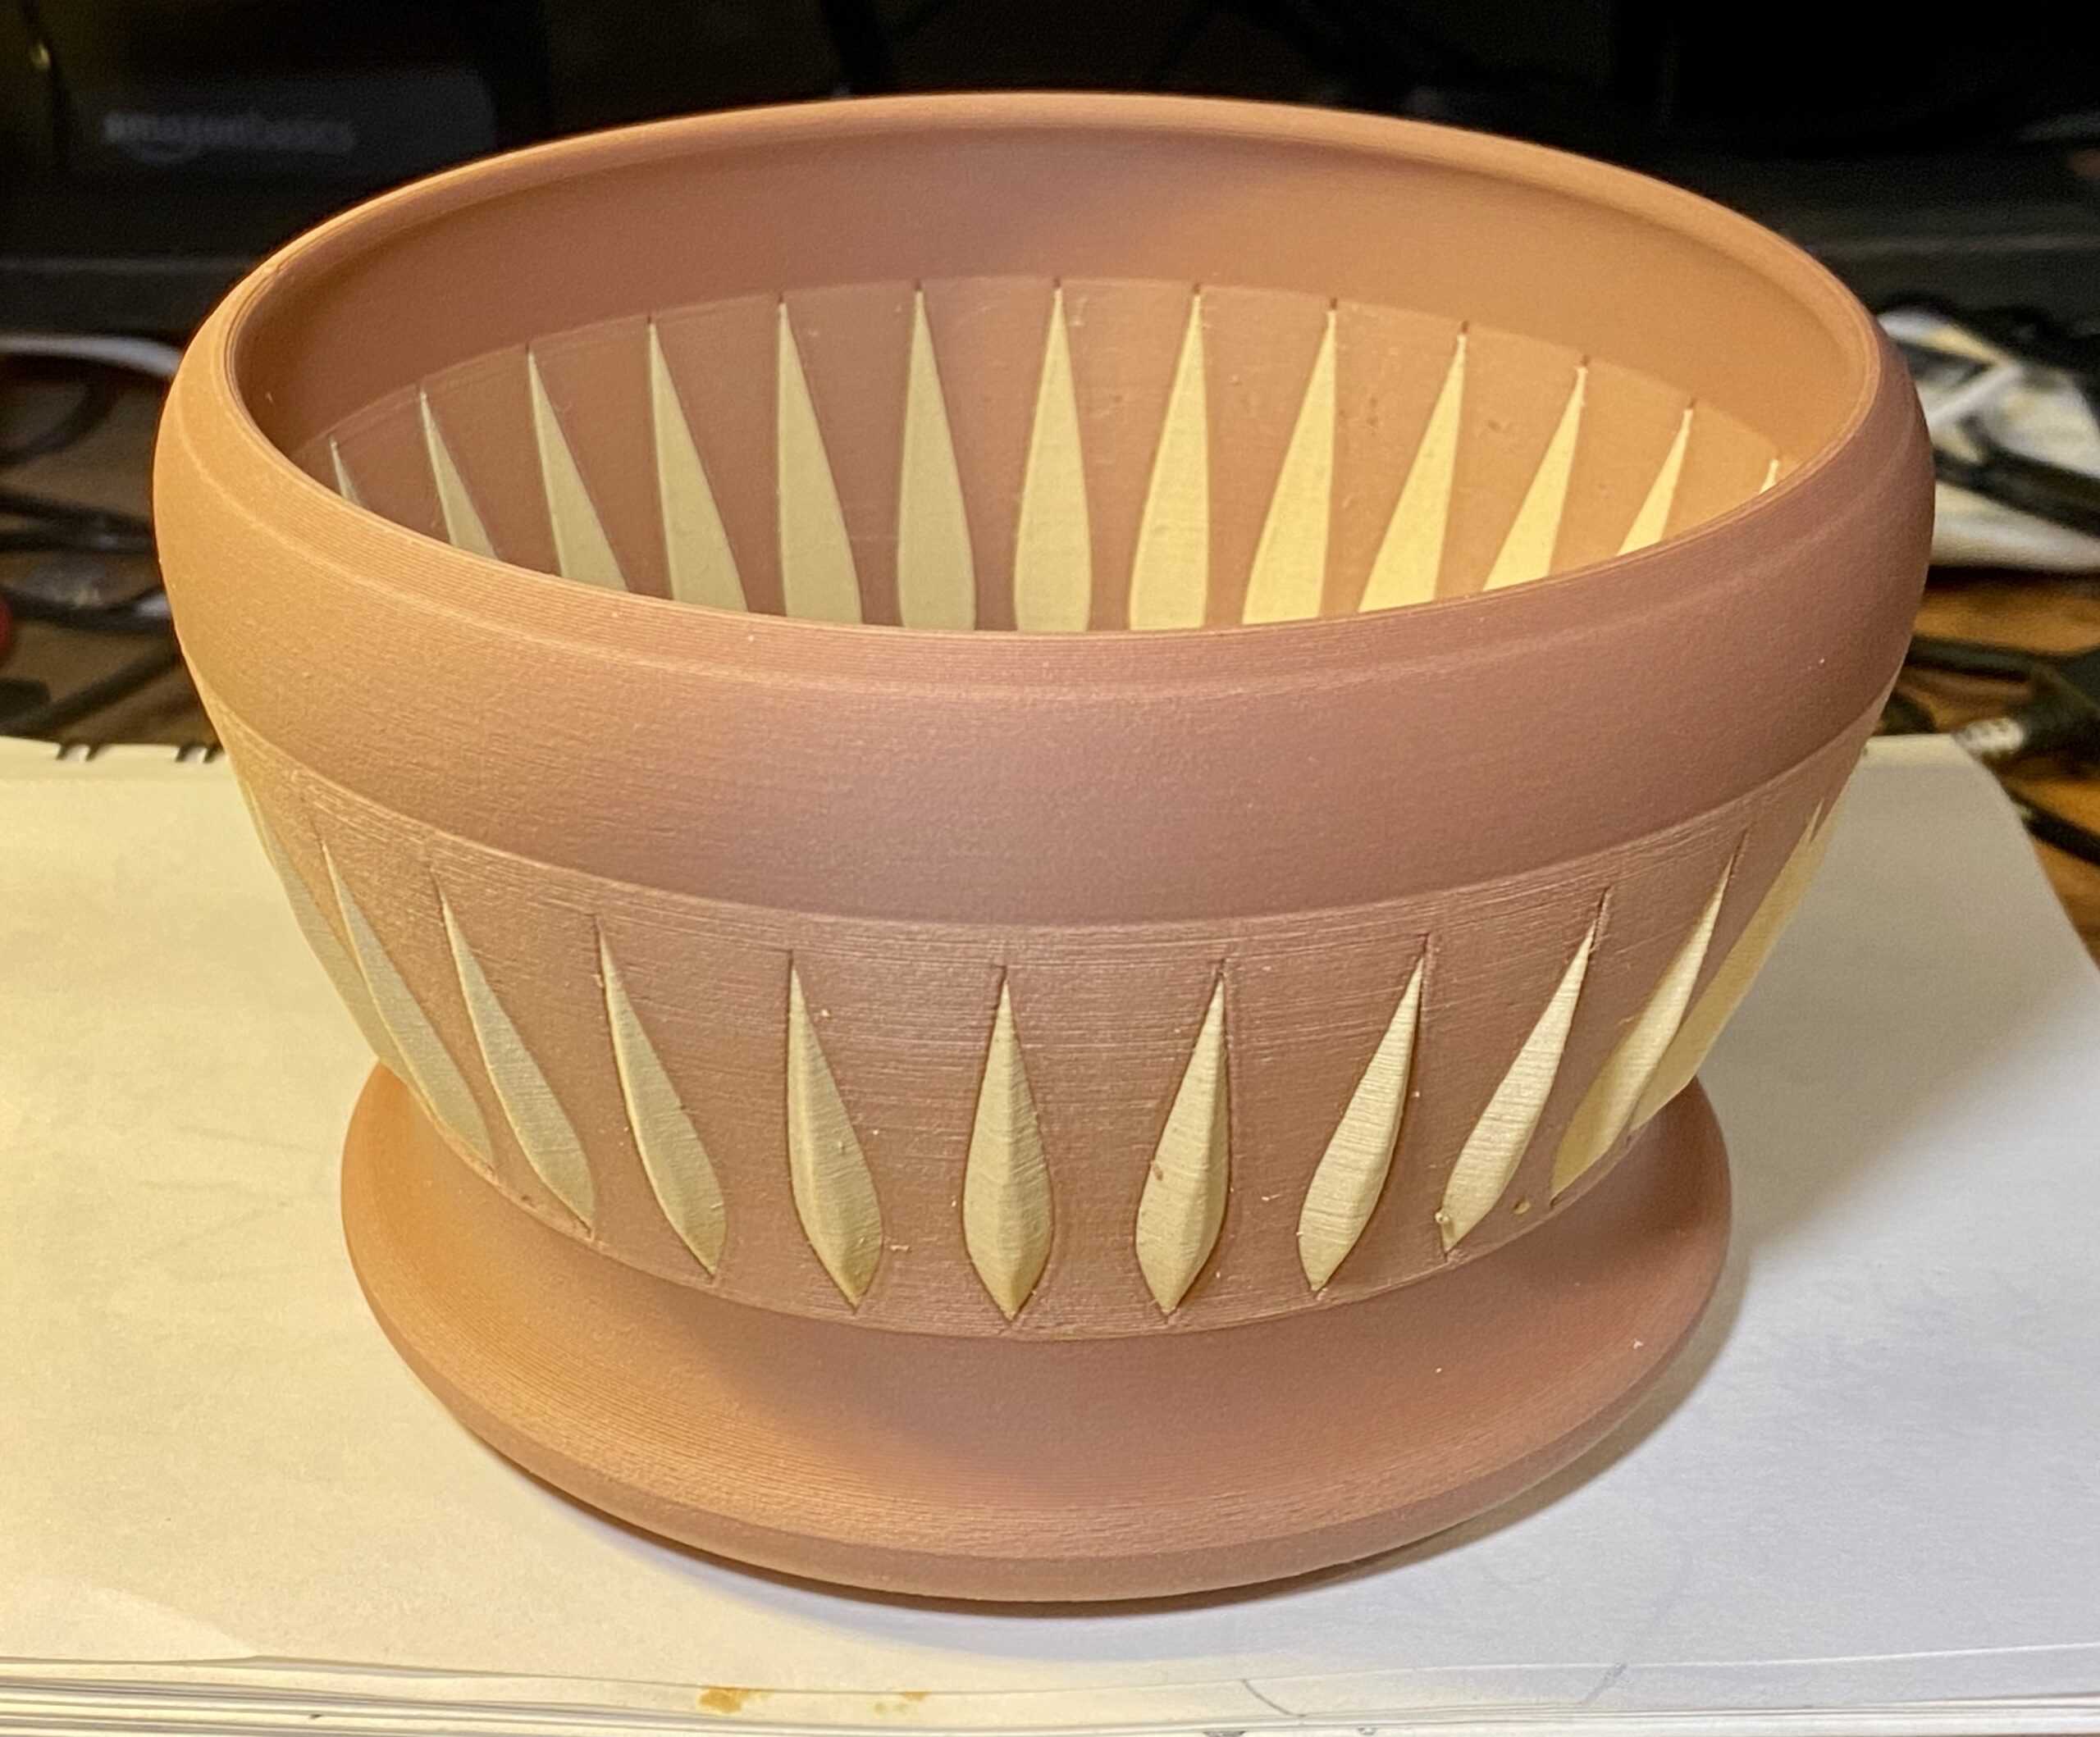
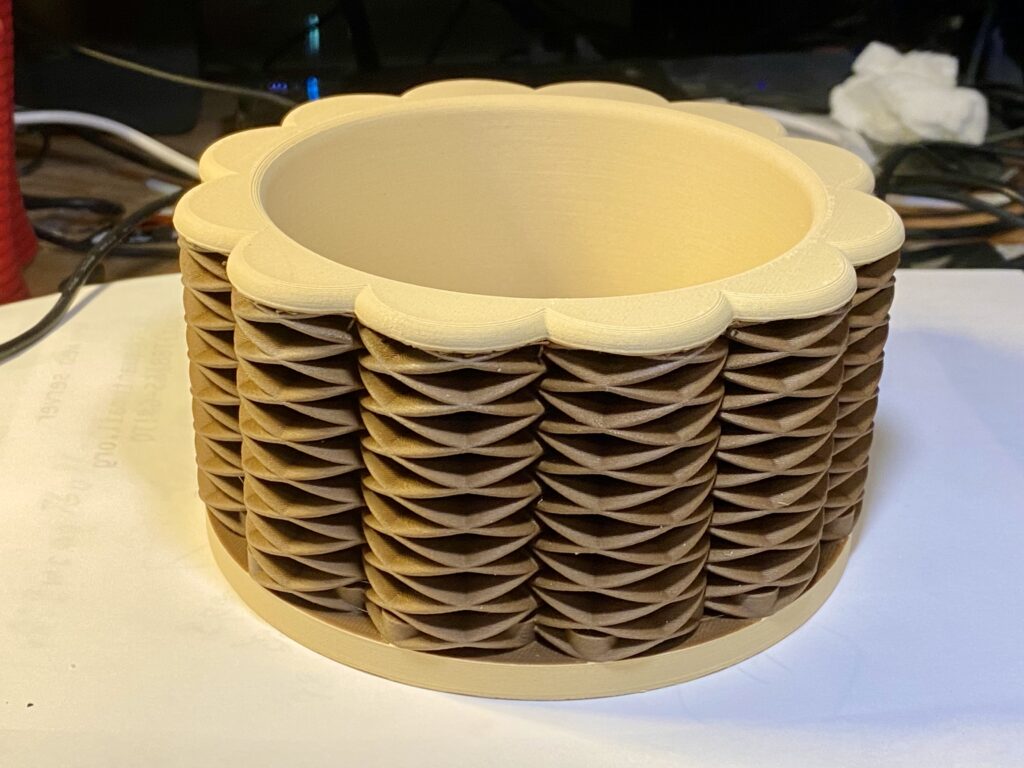
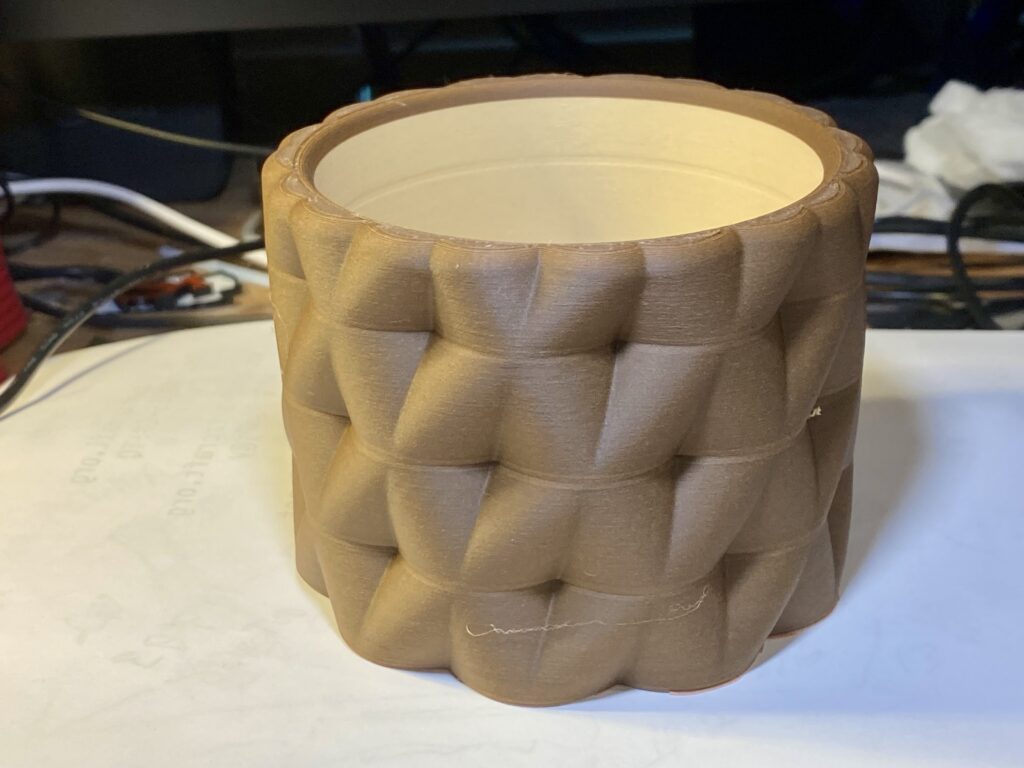
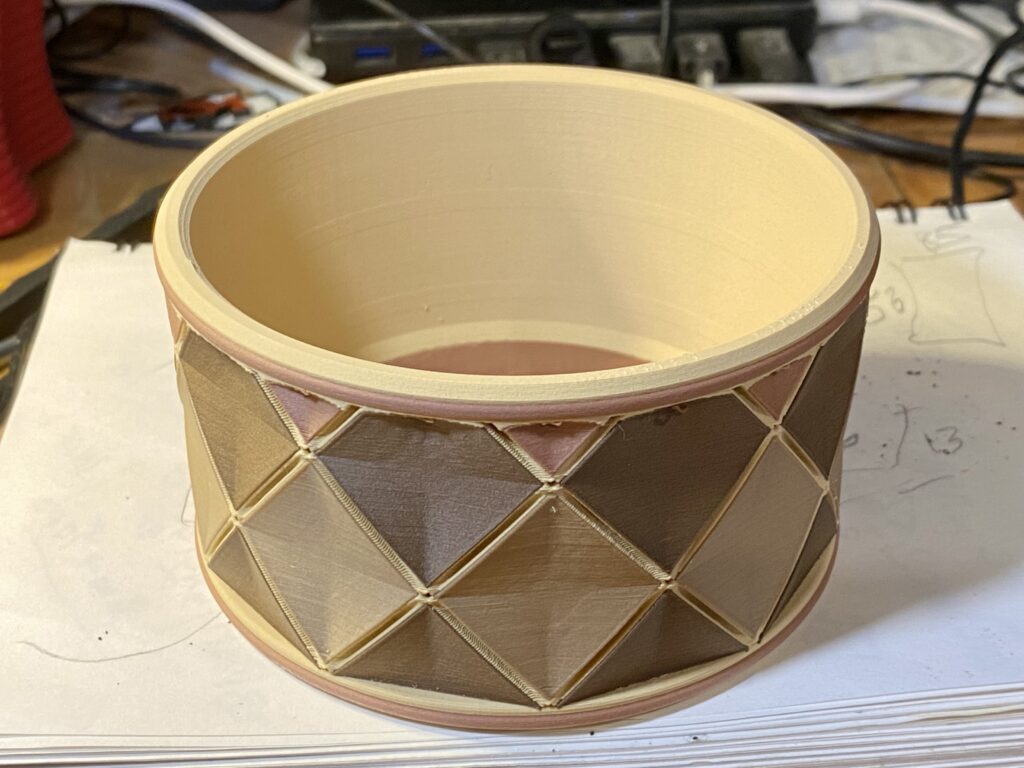
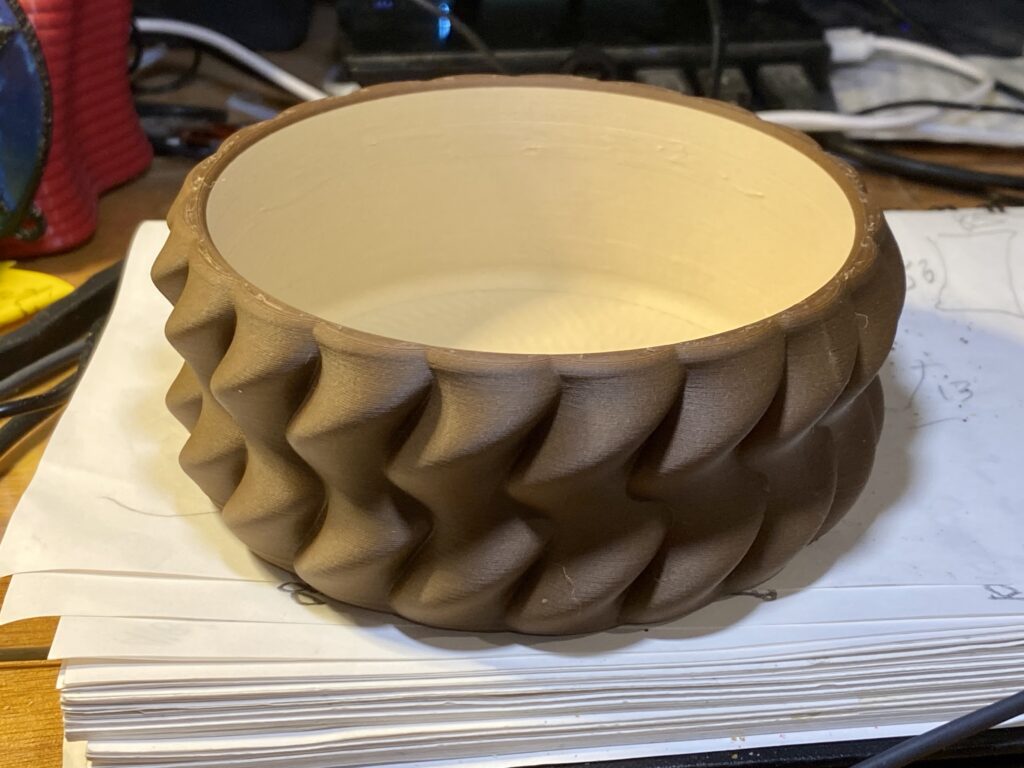
    I got on a bowl making kick for a while. Experimenting with complex CAD designing. Bowls are rather easy so do get a bit carried away making them.

    I have far more than any one person would have a use. But my spouse does like to give them to her friends. That’s good as I then have room to make more bowl Junque!

    The Snapmaker U1 4-filament printer gives me the opportunity to play with color combinations.

    Here are a few of the most recent.

  • Longneck Vase

    Longneck Vase

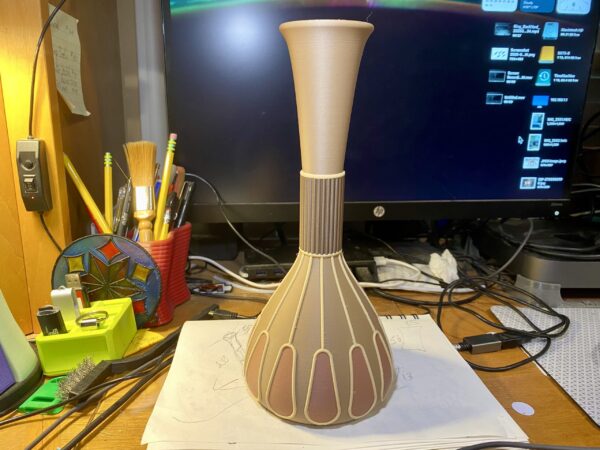
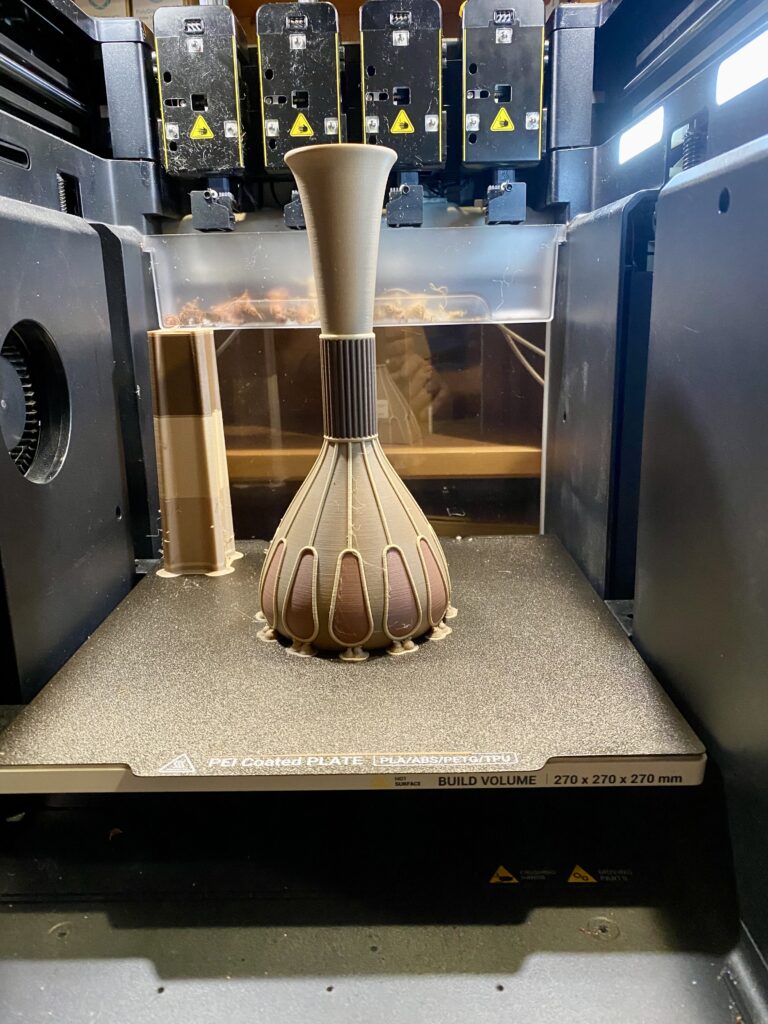
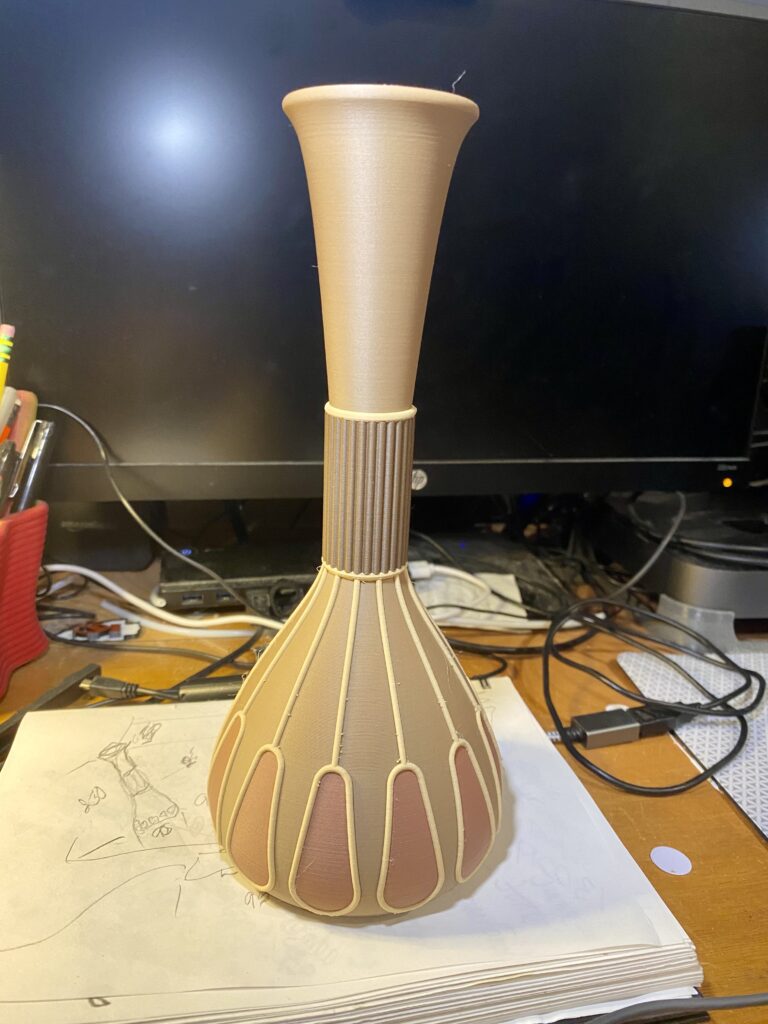
    I wanted to call it a vause,,, but it seems there ain’t no such word! Ha!

    What I really wanted to design and make is a tall fancy vase. I thought maybe vause would sound more upper-class…

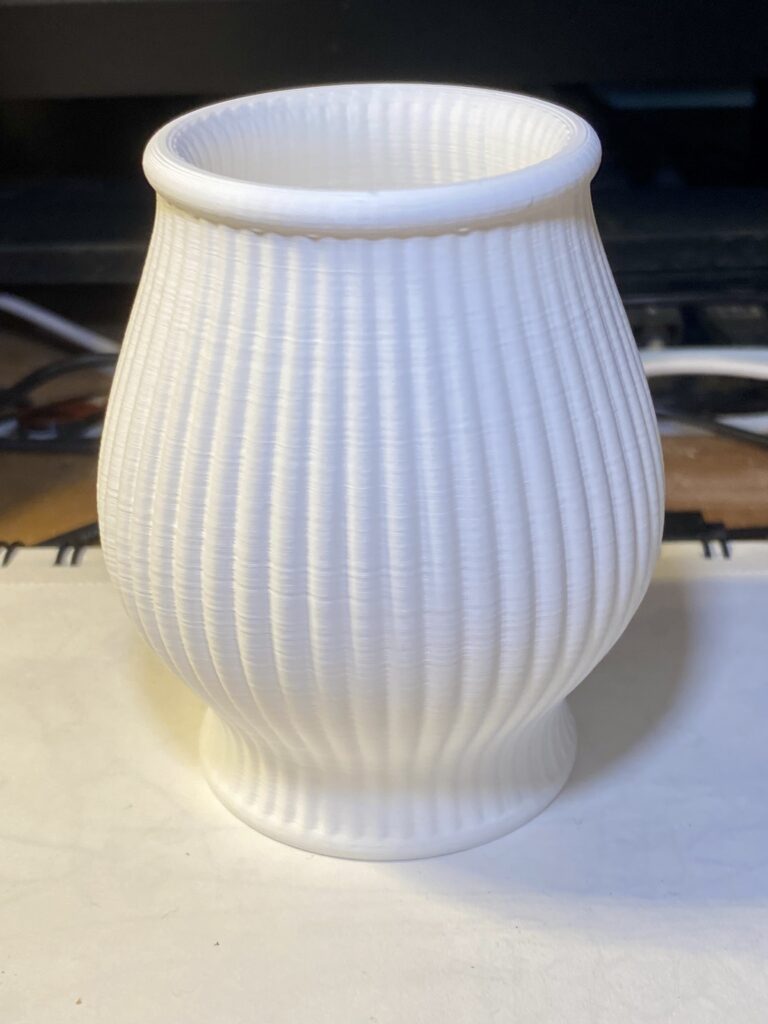
    The material is wood filled PLA, four colors. Height 150mm, base 90mm and top 50mm. Layers 0.15mm.

    Print time was 13 hours, 48 minutes.

    Doe it qualify as Junque? Maybe kinda nice Junque…

  • Swish Box

    Swish Box

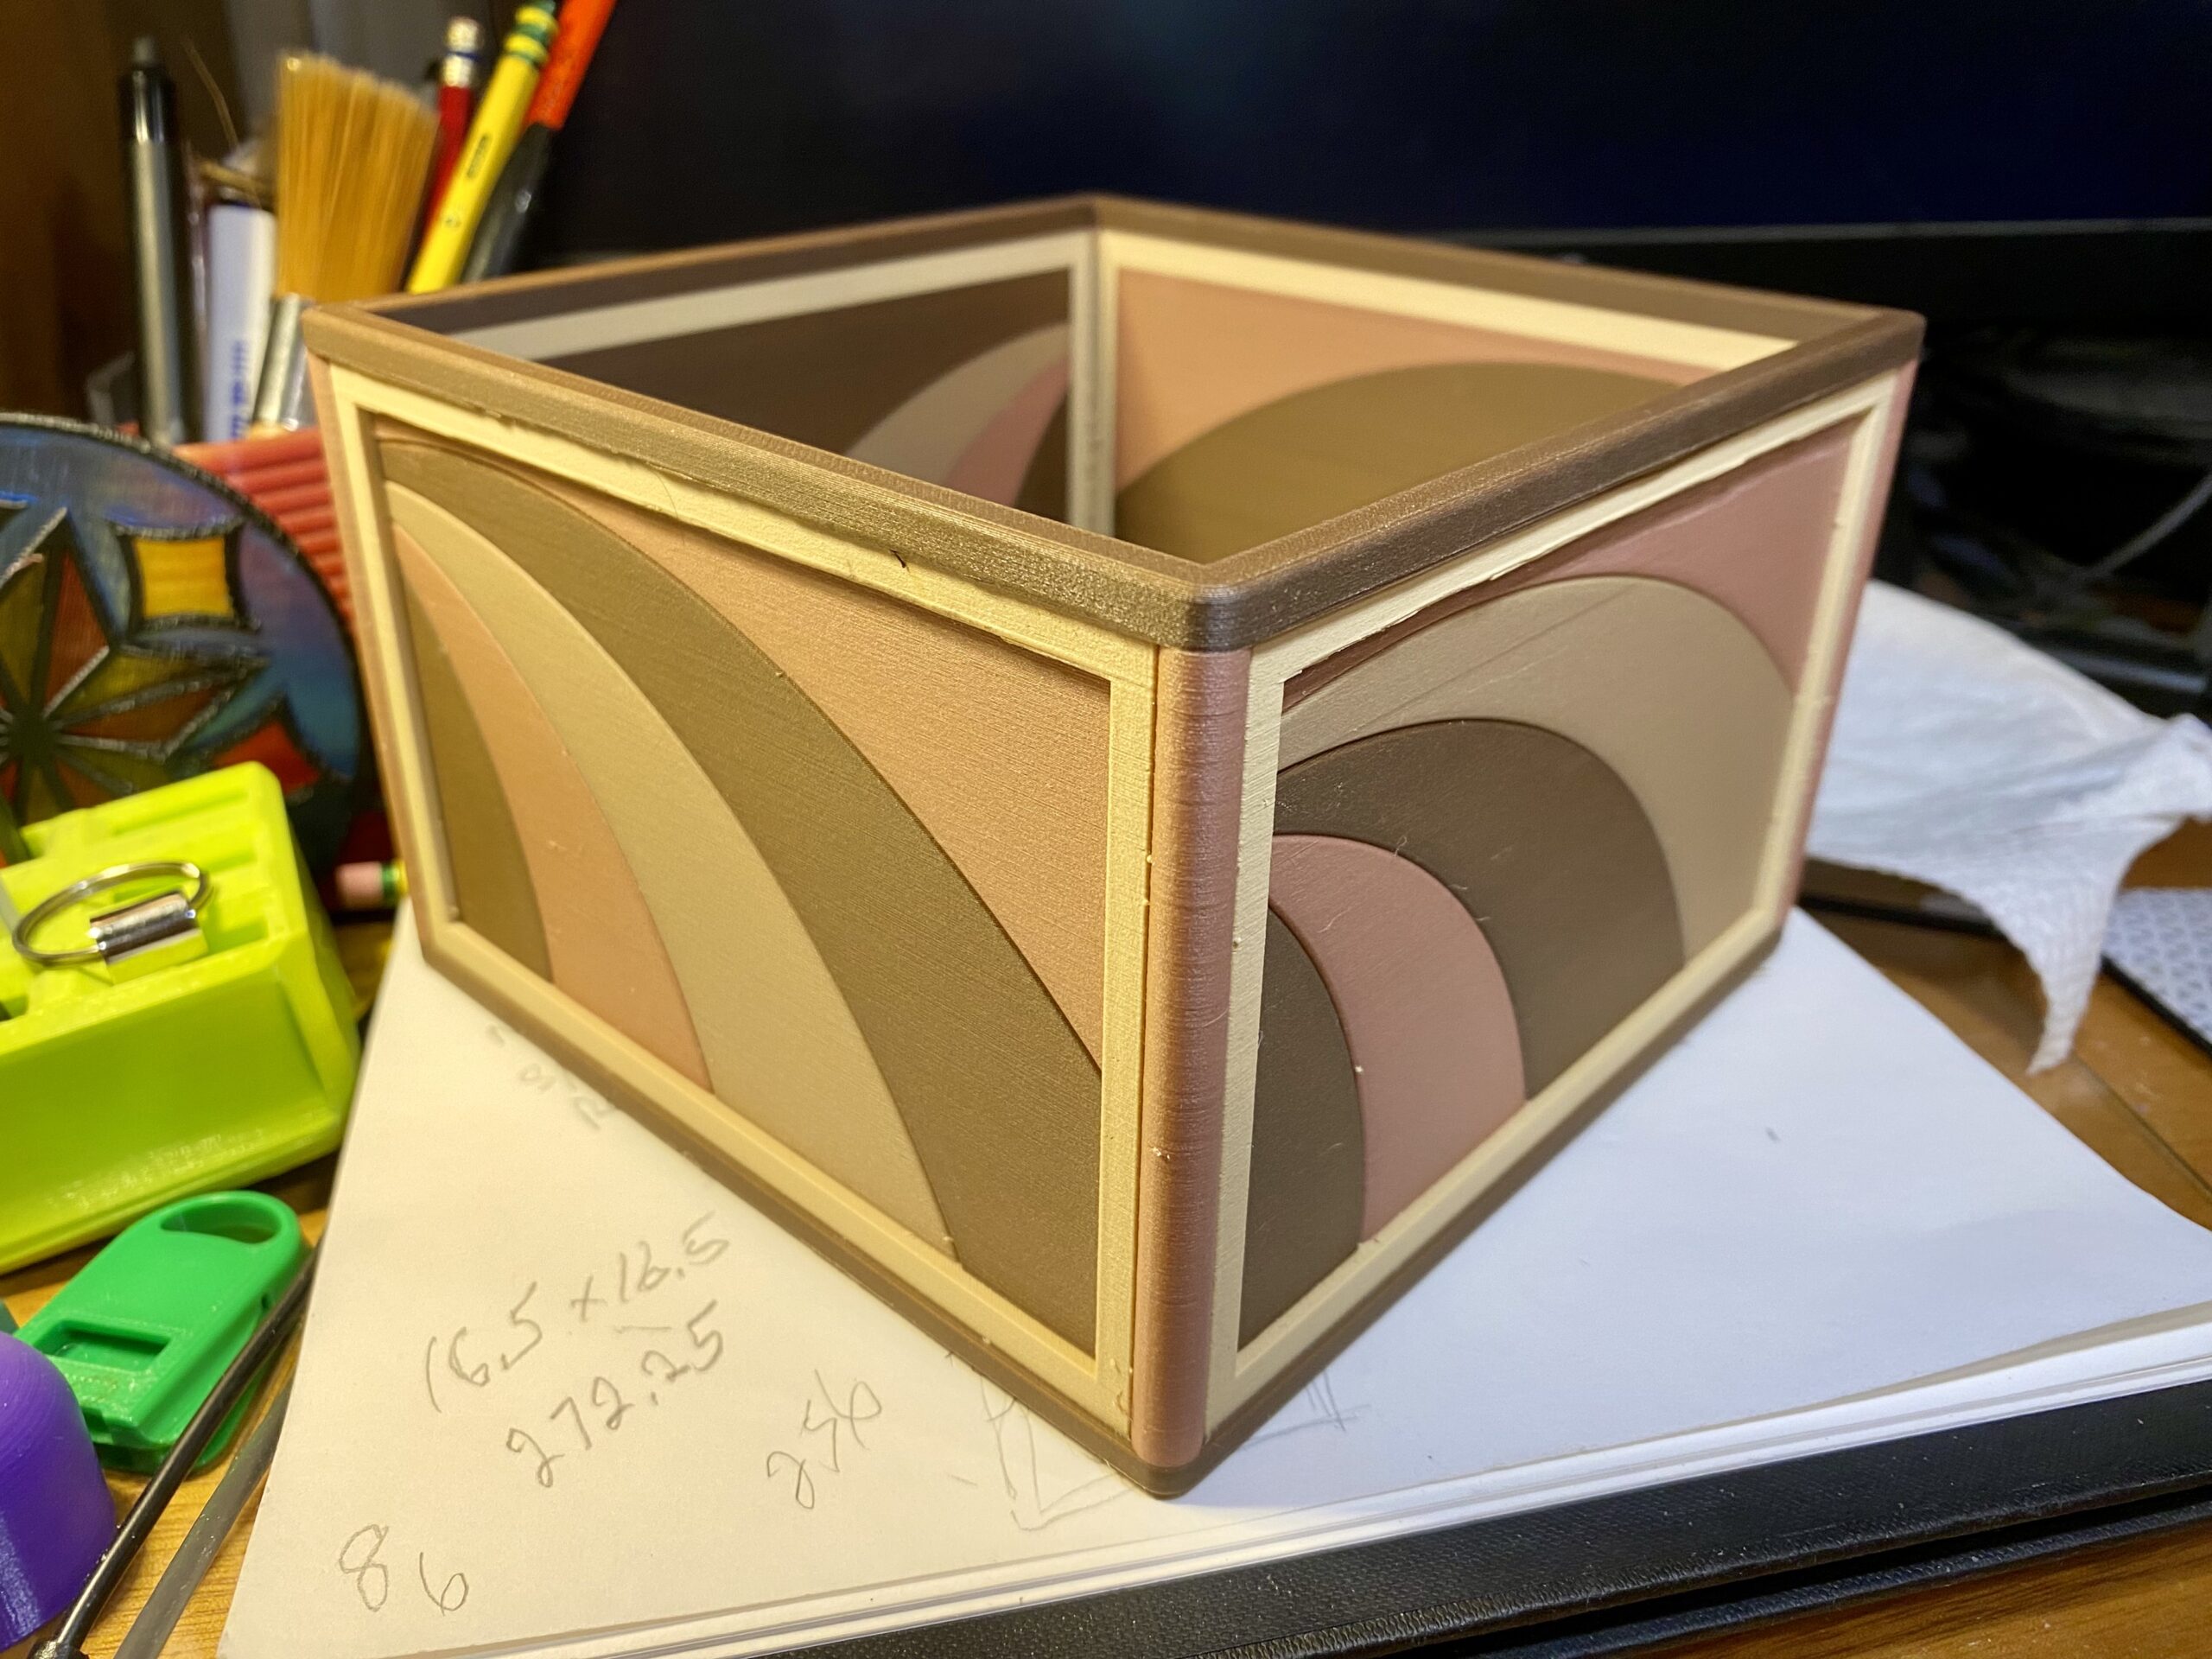
    This is another wood Junque project. Simple square box but with a colorful “swish” design on each side.

    This project uses Snapmaker wood filled PLA in four colors, Walnut, Rosewood, Maple, Oak. Note I say colors as I have no idea if these describe the actual wood species contained in the PLA material. Snapmaker does say it is real wood dust.

    I believe the tree species is more a color descriptor than a true material description.

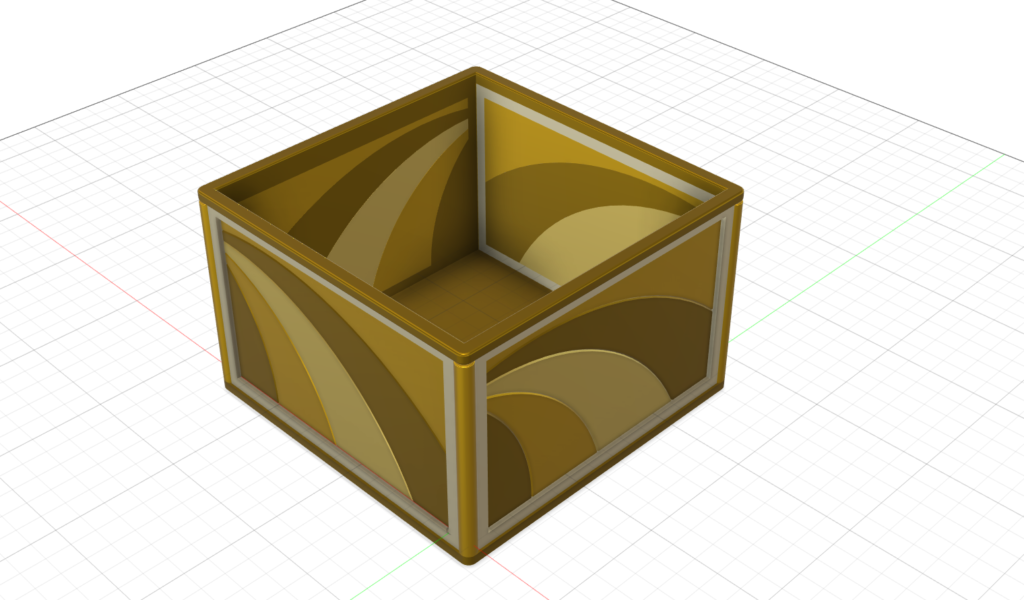
    I designed the box using AutoDesk Fusion. Each color piece is an individual .STL file, making it easy to color in the slicer. I also colored the parts in the CAD drawing.

    Print time is 16 hours on the Snapmaker U1

    CAD Drawing
  • Some Wood – Some Wooden

    Some Wood – Some Wooden

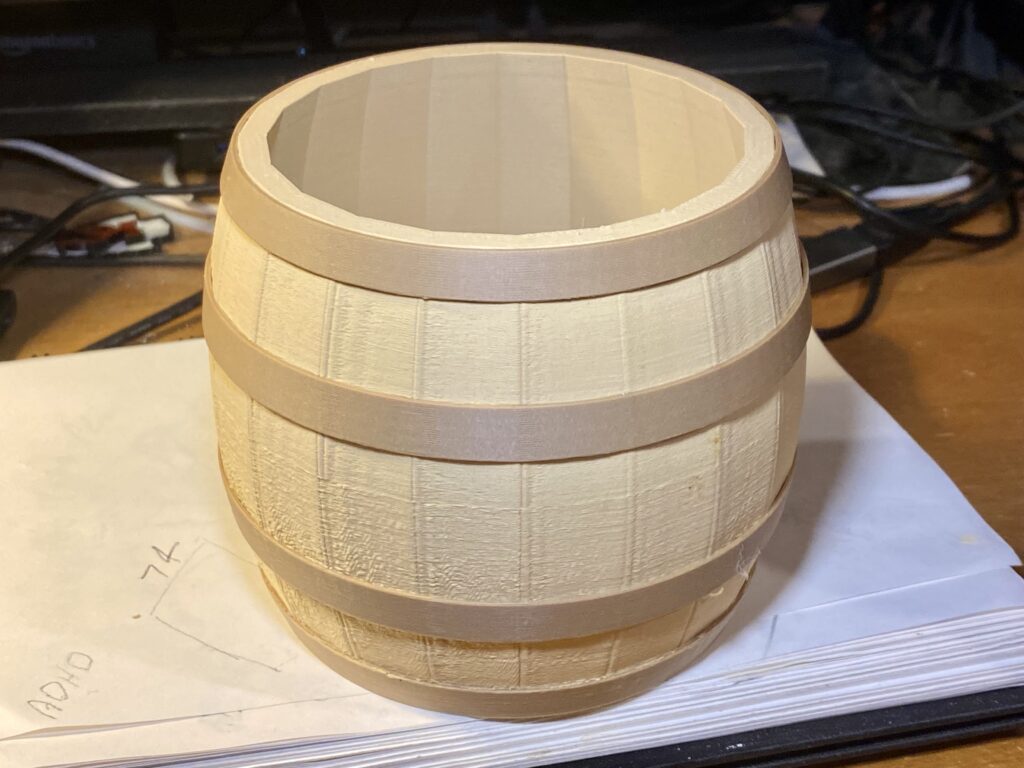
    I grabbed an old muse This one is wood-like Junque. 

    I have used wood filled filament many time before. So this is not exactly new. As far as I know, the only base for wood filled FDM filament is PLA. Certainly it is the most popular.  Much to do with the temperature range real wood dust (in the filament) can tolerate.

    I am printing at the 190-200C range. I know the suggested low end is 180C but the slicer software complains about using a setting of 180 for PLA. Amolen suggested range is 180 – 210C.

    I jumped in by (buy?) ordering four different color wood filled PLA – Snapmaker brand. (Buy 3 get 4 sale) I intend to use the Snapmaker U1 with all four spools installed.

    The print shown here was done with Amolen brand wood filled PLA I have had for quite some time. It was about 200 – 250 grams on a couple of spools. Sealed in bags and still dry.

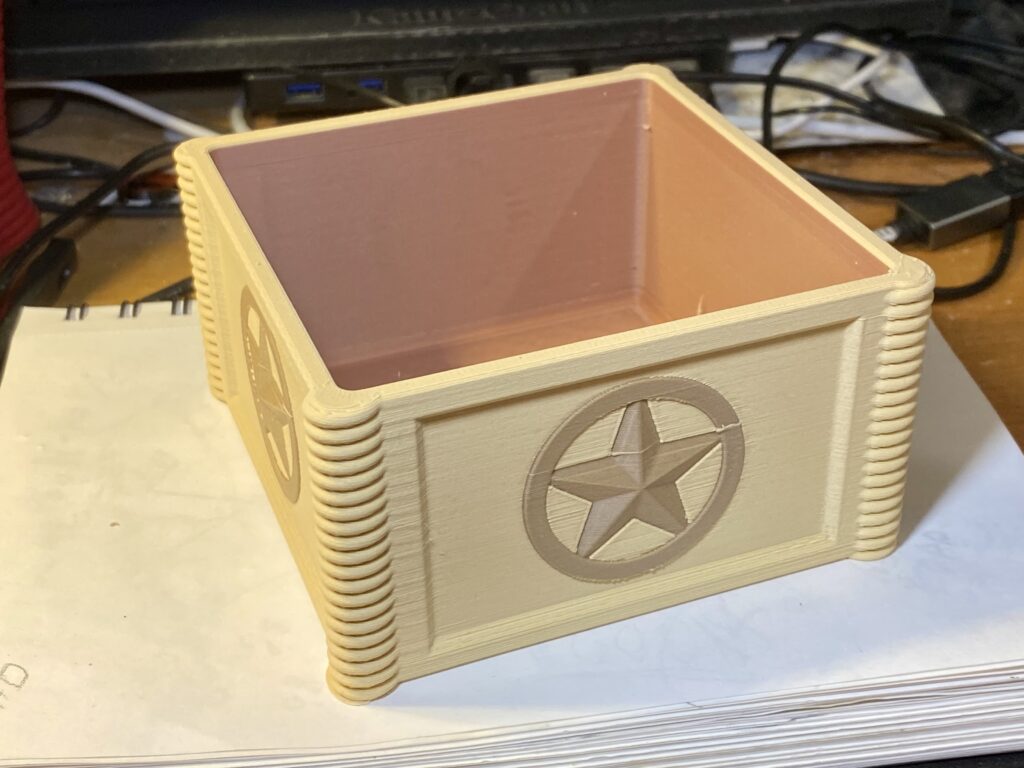
    I drew up the box in Fusion CAD and saved it as a group of .STL files one for each color piece. I like multiple piece projects when different colors are involved.  Far easier for me than painting (in the slicer) all the parts. I just select each component and assign a color. 

    Coloring in Fusion and saving the print file as .OBJ is another way of doing it.

    This print is wood-like, but lacks any grain detail. More like finished wood. The box style with the mitered corners adds to the wood-box impression. It does (to me) look less like plastic Junque,

    I have yet to receive the fresh Snapmaker wood-filled PLA. With four spools to burn, I’ll be designing more of this wooden Junque!

    The U1 four head printer will easily let me combined non-wood PLA into my designs. The brain gears are turning…

  • The Junque Drone

    The Junque Drone

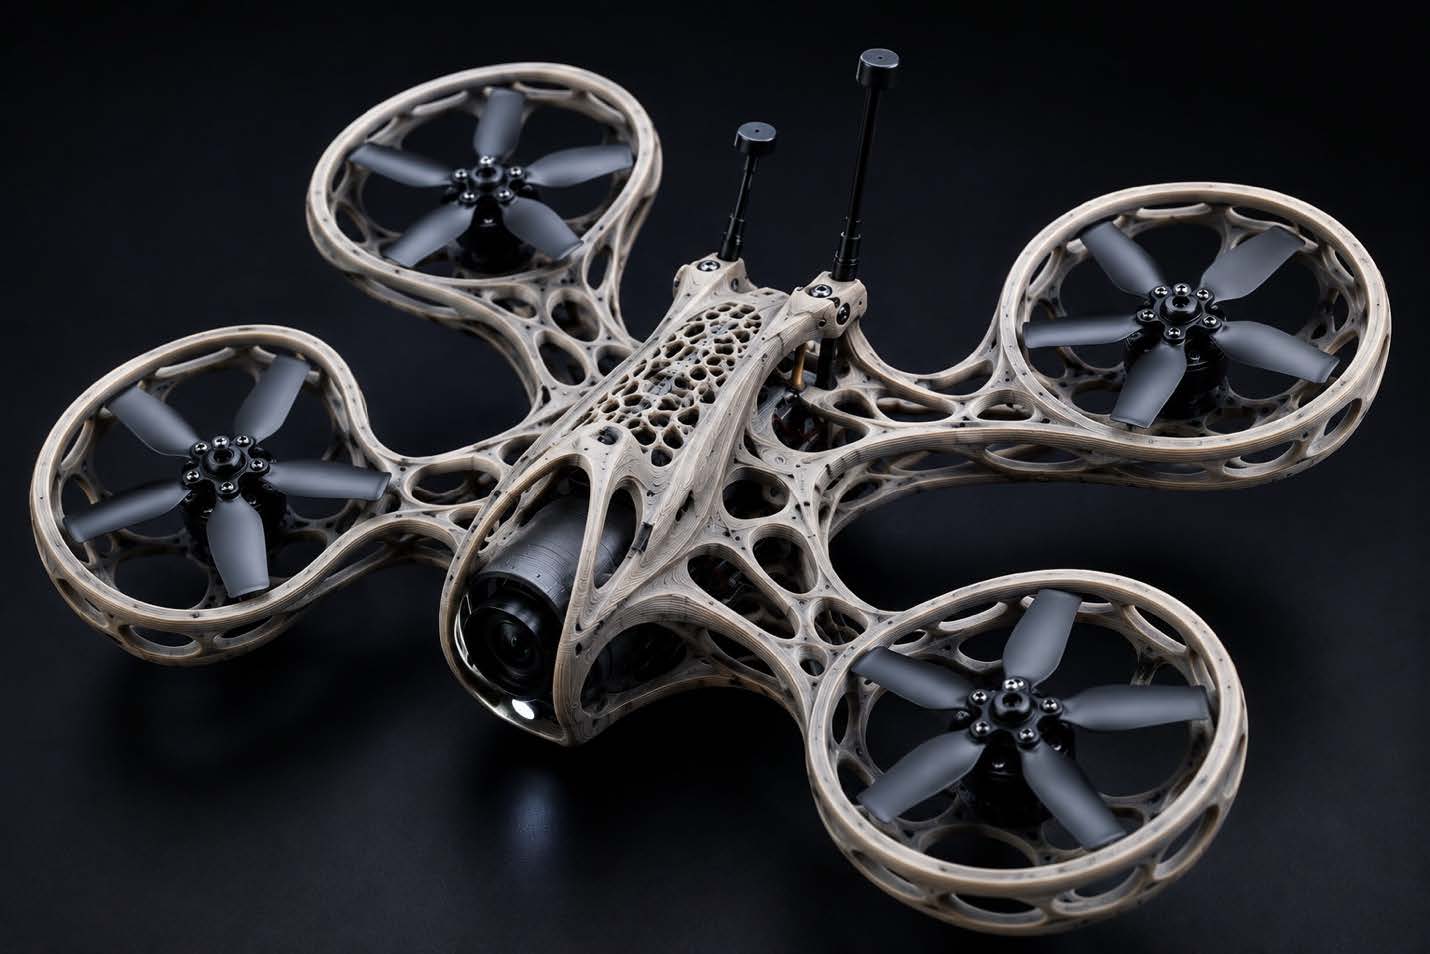
    The Junque Drone: Designing an FPV Frame

    That Looks Like It Grew Instead of Being

    Built

    Every once in a while I get tired of making something that looks like…well…everything else.

    Take FPV drones. Most of them are variations of the same recipe: carbon fiber plates, aluminum standoffs, and four arms sticking out in an X. They work great, but after you’ve seen a few hundred of them they all start to blend together.

    So I asked myself a simple question.

    What would a drone look like if it had evolved instead of being engineered?

    That question led to the Junque Drone.

    Designing for 3D Printing Instead of Carbon Fiber

    One of the biggest mistakes people make when designing 3D printed parts is trying to copy something that was designed for another manufacturing process.

    Carbon fiber wants flat plates.

    Machined aluminum wants simple geometry.

    Injection molding wants draft angles and split lines.

    But 3D printing doesn’t care about any of those things.

    If I can print almost any shape I can imagine, why limit myself to straight arms and flat plates?

    Instead, I wanted a structure that looked organic—as if nature had optimized it over thousands of years.

    The result is a frame that resembles bone, coral, or even the internal structure of a bird’s wing.

    Instead of large solid sections, the frame uses interconnected ribs and flowing curves that spread loads throughout the structure.

    It almost looks alive.

    Let the Material Do the Work

    Nature doesn’t waste material.

    Bones aren’t solid.

    Trees aren’t solid.

    Even bird feathers use incredibly lightweight internal structures.

    That same philosophy inspired this frame.

    Instead of making thick, heavy arms, I wanted the material only where it actually contributes strength.

    Large openings reduce weight while the surrounding ribs maintain stiffness.

    The beauty of additive manufacturing is that complicated geometry costs essentially nothing.

    Once the printer starts, printing a graceful curved rib isn’t any more difficult than printing a straight bar.

    So why not make it interesting?

    Integrated Ducts

    Rather than bolting prop guards onto the frame, the ducts become part of the structure itself.

    They flow naturally out of the center body, almost like branches growing from a tree trunk.

    Besides looking different, integrated ducts provide several advantages.

    • Better prop protection

    • Increased structural rigidity

    • Cleaner airflow

    • Fewer individual parts

    • A much cleaner appearance

    Everything feels like one continuous piece rather than a collection of components bolted together.

    The Center Spine

    The center body became one of my favorite parts of the design.

    Instead of a simple rectangular box, it gradually narrows toward the camera while opening into a lightweight lattice across the top.

    This accomplishes several things.

    I t creates room for electronics.

    It keeps the battery low.

    It provides excellent cooling.

    And perhaps most importantly… It just looks cool.

    Sometimes it’s okay to admit that aesthetics matter.

    If I’m going to spend hours designing and printing something, I want to smile every time I look at it.

    Why Organic Shapes?

    I’m fascinated by generative design.

    Engineers have been using software for years that removes unnecessary material until only the strongest load paths remain.

    The resulting parts often look strange.

    Almost alien.

    That’s exactly what attracts me.

    Our brains are so accustomed to straight lines and ninety-degree angles that anything organic immediately grabs our attention.

    This drone isn’t pretending to be a bird.

    It isn’t pretending to be an insect.

    It simply embraces shapes that traditional manufacturing has made impractical for decades.

    Now that we have affordable 3D printers, those limitations are disappearing.

    Designing for Real Hardware

    As futuristic as the frame looks, it’s still intended to use readily available FPV components.

    Standard brushless motors.

    Standard flight controller.

    Standard FPV camera.

    Standard antennas.

    Nothing exotic.

    The goal wasn’t to reinvent drone electronics.

    The goal was to wrap proven hardware inside a frame that could only exist because of additive manufacturing.

    Lessons Learned

    Like every prototype, this one taught me a few things.

    Some areas could be lightened even more.

    Other sections would benefit from thicker ribs.

    Cable routing deserves more attention.

    And I’d like to experiment with different lattice patterns to see how they affect stiffness and vibration.

    That’s one of the joys of 3D printing.

    Version 2 is only another CAD session away.

    Where Does It Go From Here?

    The Junque Drone isn’t about building the fastest FPV racer.

    It isn’t about breaking endurance records.

    It’s about asking a different question.

    What happens when we stop designing drones like they’re made from flat sheets of carbon fiber and start designing them specifically for 3D printing?

    I think we’re only scratching the surface.

    As printers become faster, lighter materials become available, and design software continues to improve, we’re going to see drones that look nothing like today’s machines.

    Some of those ideas will fail.

    Some will surprise us.

    And every once in a while, one of those strange-looking experiments will point toward the future.

    For me, that’s the fun part.

    The Junque Drone is just another excuse to see what happens when imagination, a spool of filament, and a willingness to experiment all come together.

    Who knows? The next great idea might not come from a billion-dollar aerospace company.

    It might come from somebody’s garage, humming away on a 3D printer overnight.

    And that’s exactly the kind of junque I like to make.


    This post created fully by AI. Thanks to Mike S. for this contribution.
  • Watta Bottles

    Watta Bottles

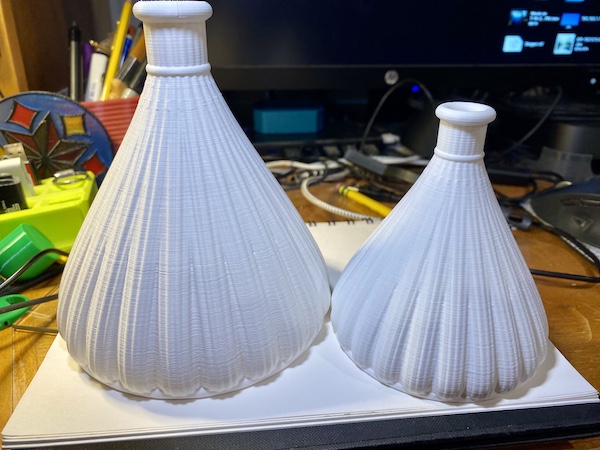
    These were inspired by an Apache native American Indian pinion pine pitch water bottle basket I saw on Antiques Roadshow. Not an exact copy. Not even close. But the shape is similar.

    Looks like a bud vase to me. or a small water bottle. It is what it is.

    Printed with PLA

  • Welcome

    Welcome

    Thanks for visiting The JunqueMaker!

    I call myself a “professional hobbyist”. That’s because I am officially retired from my professional contracted time/labor-based income stream and can now do exactly as I please, but with no pecuniary gain.

    I do not have just one hobby. I have quite a few. Almost all of them are creative craft activities. I like to make tangible “stuff”. But because I don’t get paid for what I do, I jokingly refer to my creations as Junque. Note the special spelling… SO – it’s very high quality junk.

    There are links in the sidebar to all my other blog sites covering the things I make. One of my creative hobbies is creating and “feeding” many hobby type blogs. Blogs are not very tangible items, so they do not quite qualify as Junque. But here, I think it makes a good blog title.